

The Grass Baas
-
Posts
184 -
Joined
-
Last visited
-
Days Won
2
Content Type
Profiles
Forums
Calendar
Gallery
Articles
420 Directory
Classifieds
Posts posted by The Grass Baas
-
-
@Prom Thanks very much man. Appreciate the kind words.
Honestly, I don't have a clue on the PAR or the infrared. Probably won't build one again so not going to bother too much about it. Alibaba has all that stuff included.

I will be flowering with it.
-
 1
1
-
-
@SkunkPharm Whats up man.
I tried working it out and I would estimate between R6000 and R10000 depending on quality and small extras (tools, screws, etc.). Driver was R2000. LED strips were R1500. Import fees were R700. Aluminium was R700. Cables and wagos R600. All the other shit can cost between a few hundred to a few thousand depending on if you have things lying aorund, at your disposal, or not.
-
1
-
-
Watsup everyone.
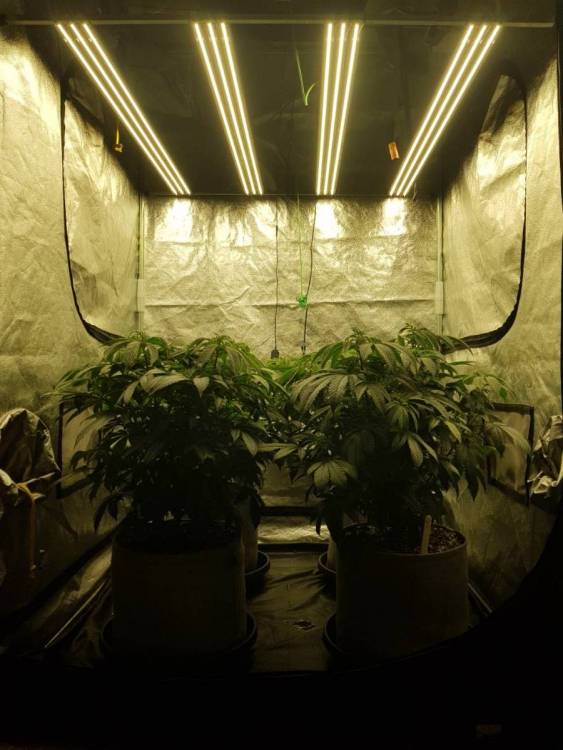
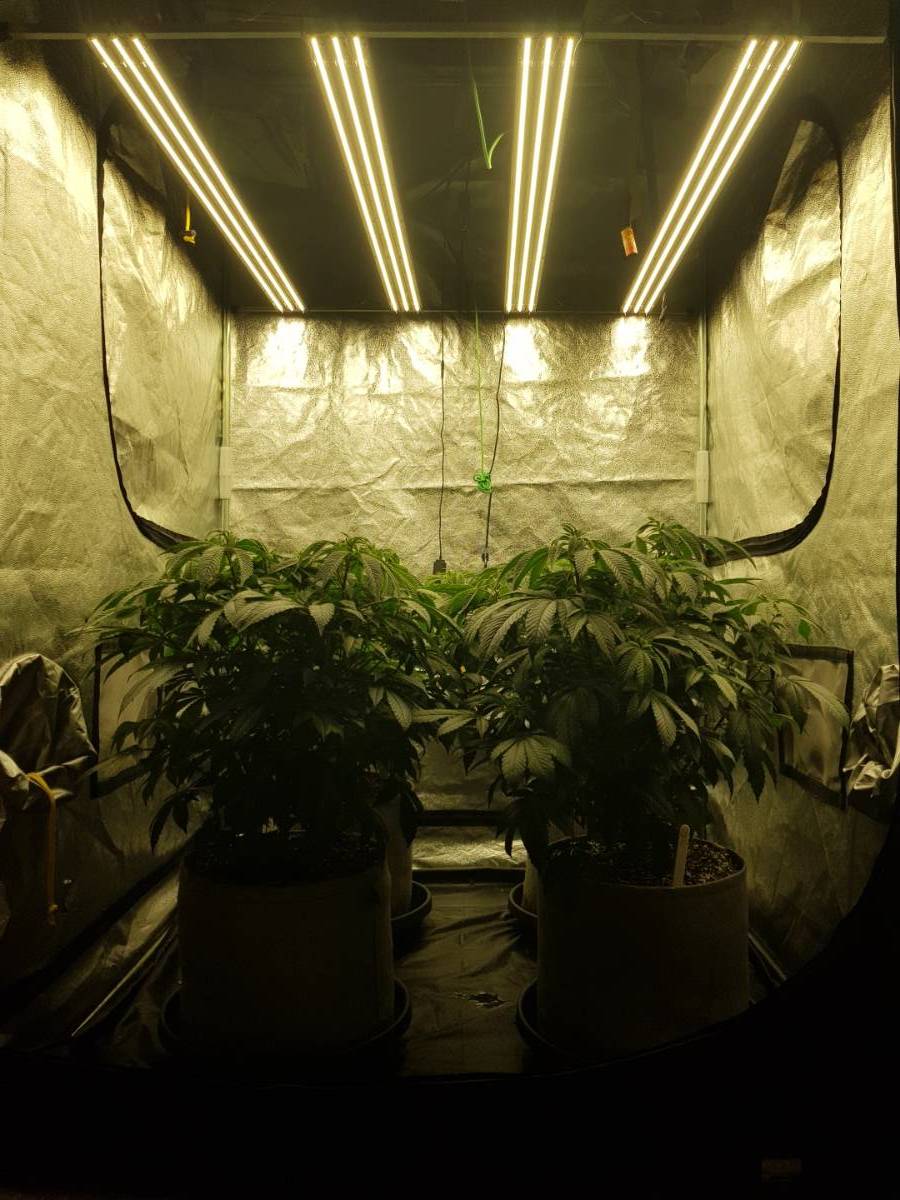
Finally I have managed to finish my 480w LED light which I have been busy with for the last 6 months, or rather delayed for the last 6 months. Work has been abit hectic and haven't been home to work on any projects. I managed to make some time and if it wasn't for a good friend that put the flames under my ass, I probably never would have finished it. @John Stonedwell
I had a thread open about the wiring of a 480w light but as I kept the wiring the same as in the diagrams I used from LEDgardener, I thought I would just start a new thread rather.
At no time would I say that this build is cheaper than buying from Alibaba but it was an adventure I wanted to take and I have learnt alot about it. Plus I have a brand new 480 watt LED Grow light.
The build is an example on the LEDgardener website which I was introduced to by @Cannabist
Here goes.
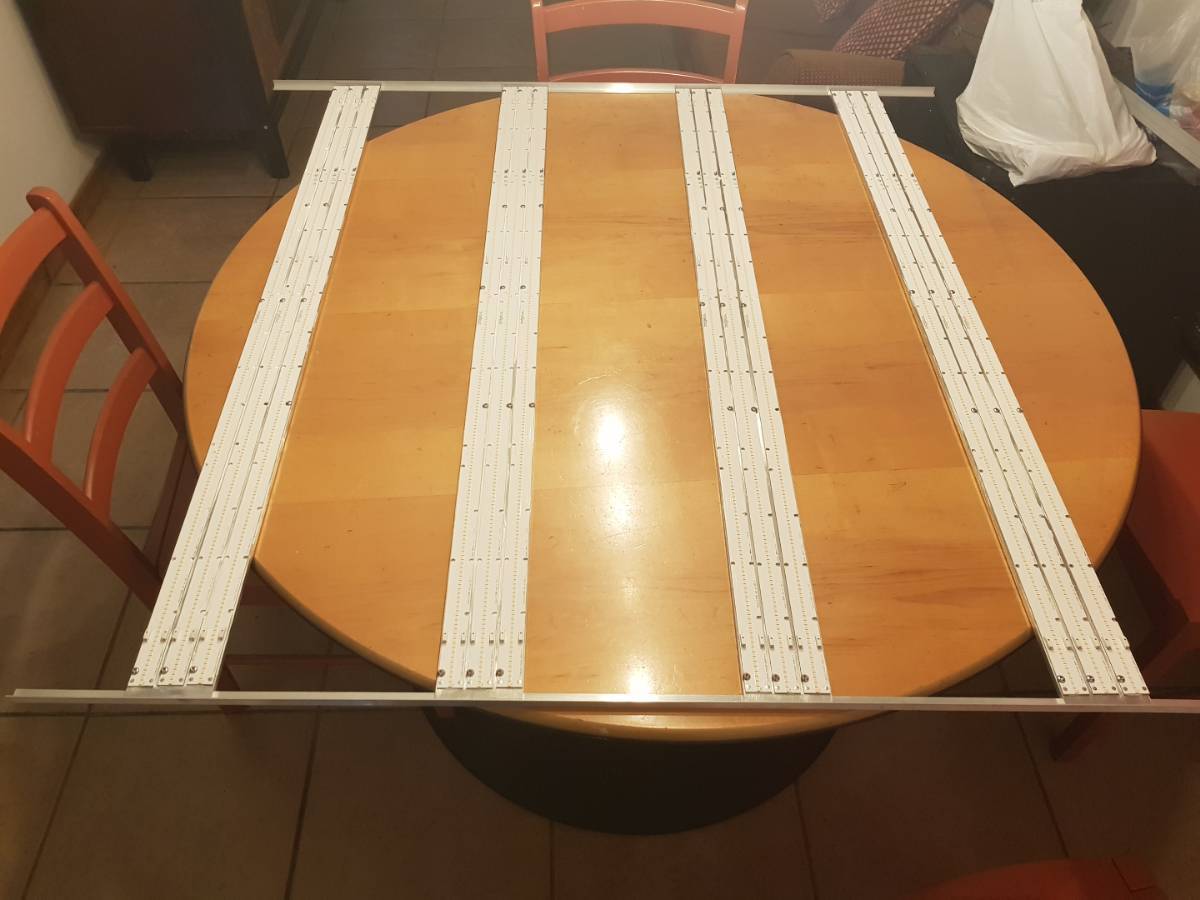
These are the following items I used:
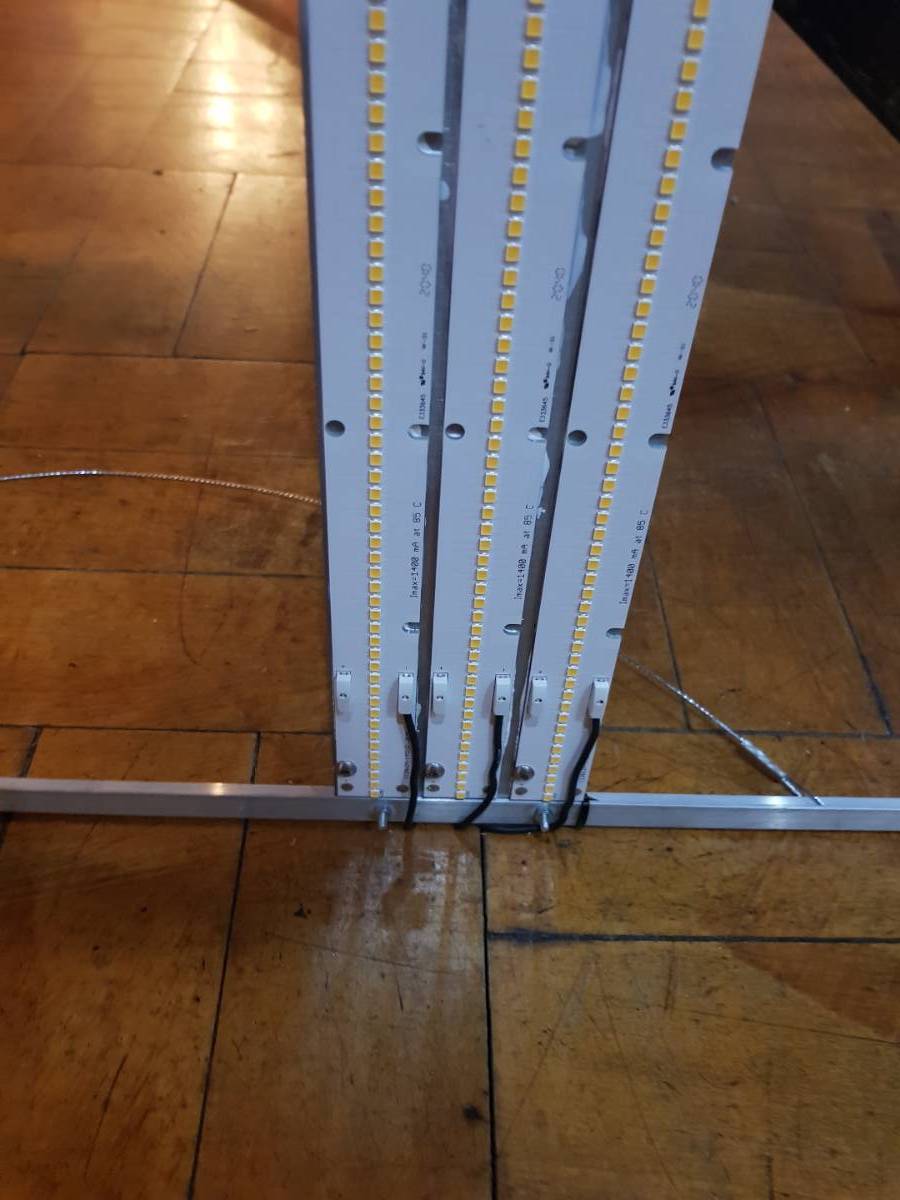
- 12x bridgelux 3500k led strips (bought off of digi-key)
- 480w meanwell driver 480H-42A (bought off of digi-key)
- 6m of aluminium bar (6mm thick and 76mm wide)(bought at aluminium trading)
- 6m of aluminium angle (side are 12mm wide and 1.6mm thick)
- 6m of 3core flexi black cable (soft like extension cord cable)
- 10m of 2core twinflex (harder mouldable cable)
- Plastic coated steel ferrels
- Couple of meters of heatshrink
- Chocolate blocks (through and through connectors)
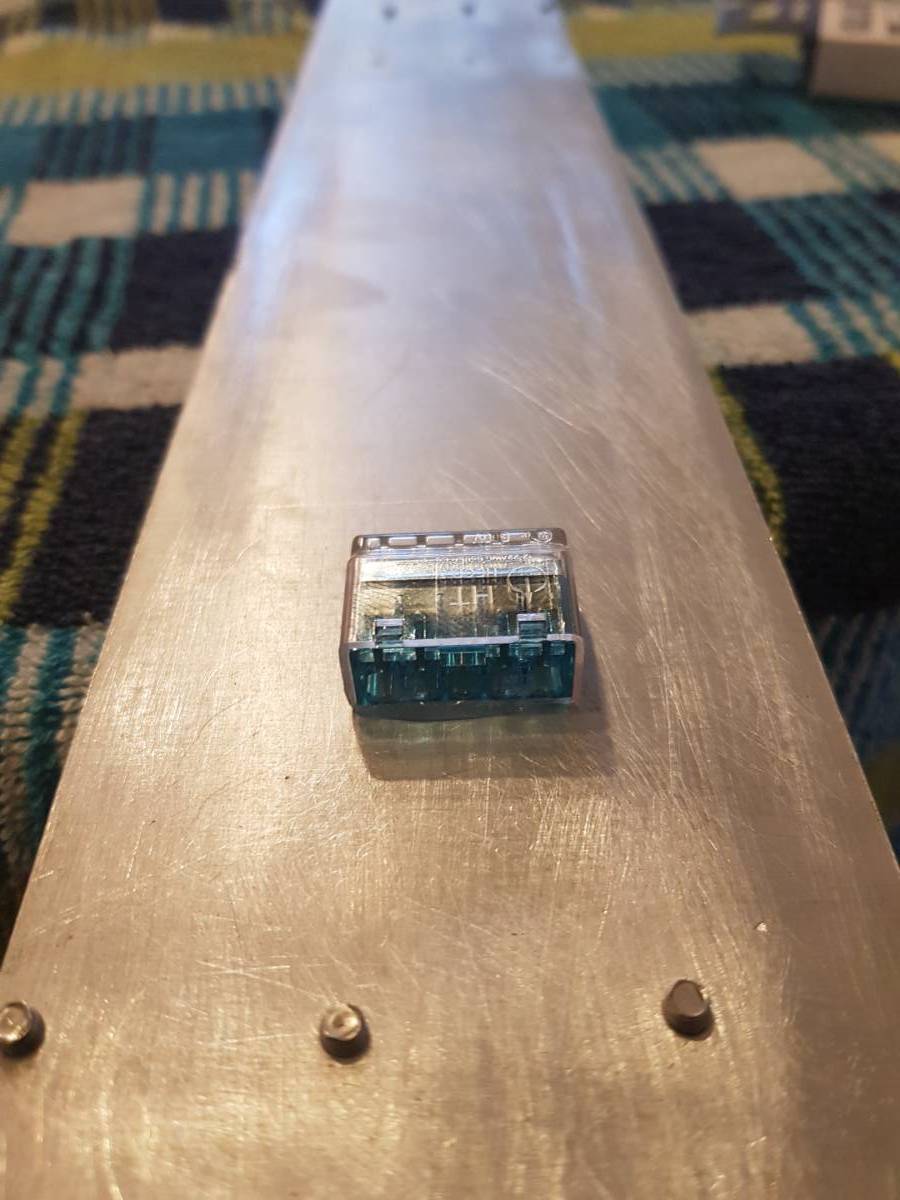
- 8x wago connectors (can be found at hardware shops)
- Waterproof 3 core connector
- 3 point plug
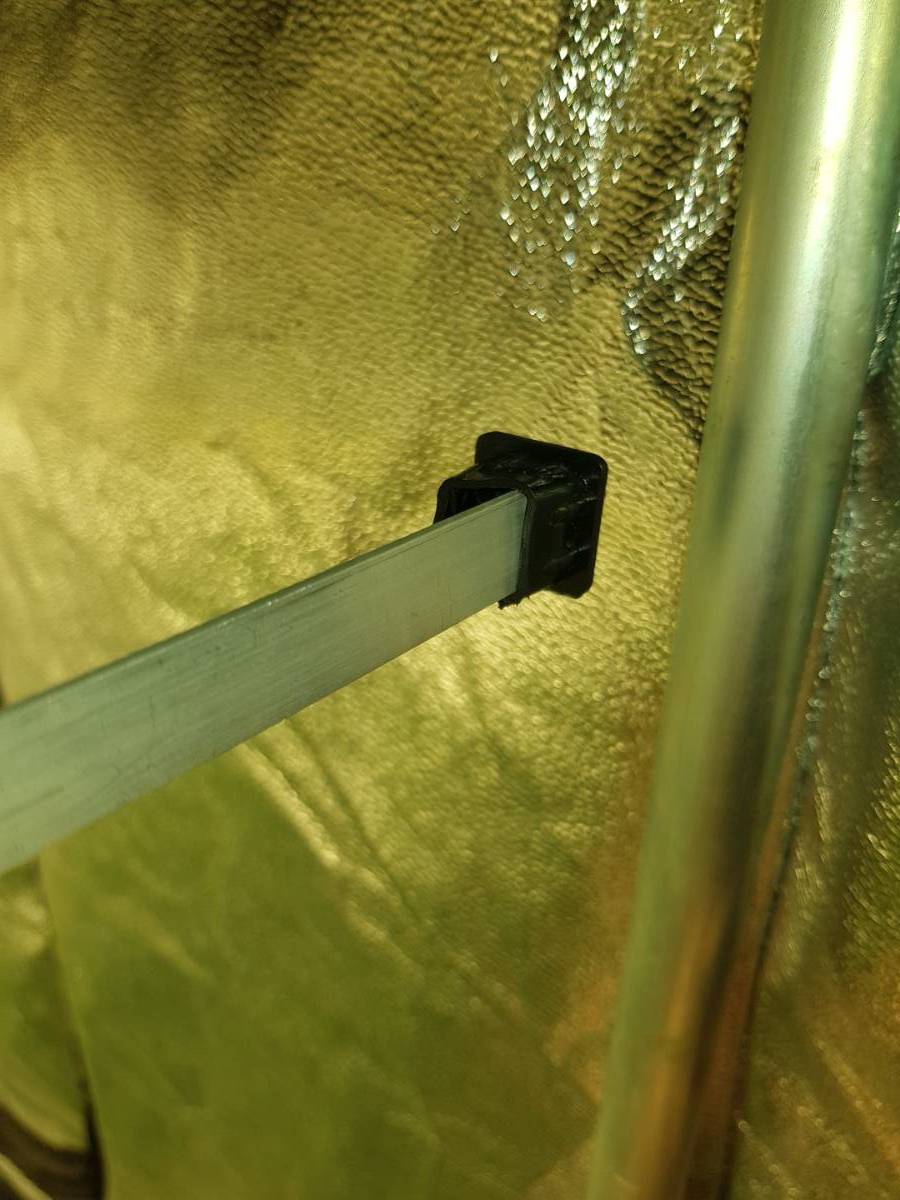
- 12mm plastic squares for corners
- Wondafix glue
- Plenty of little screws
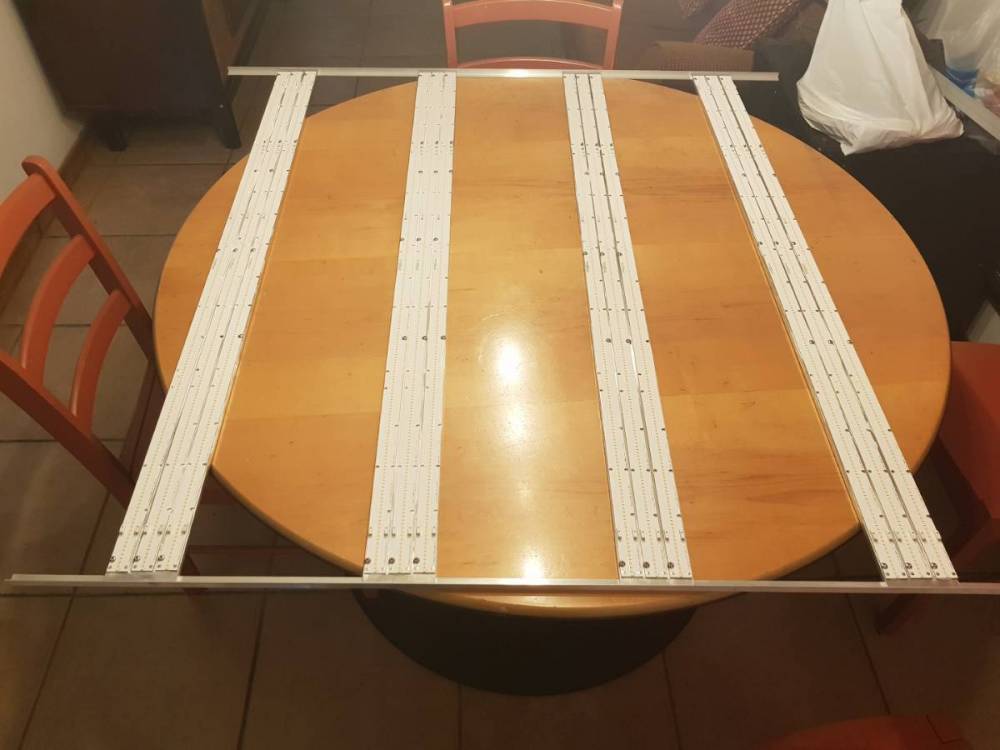
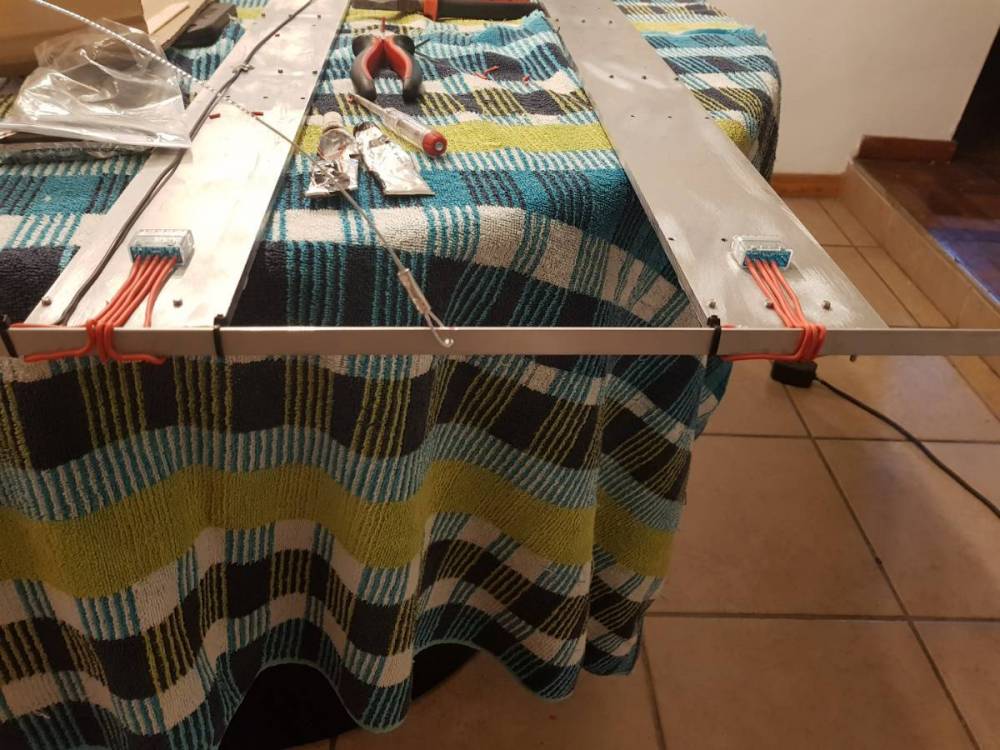
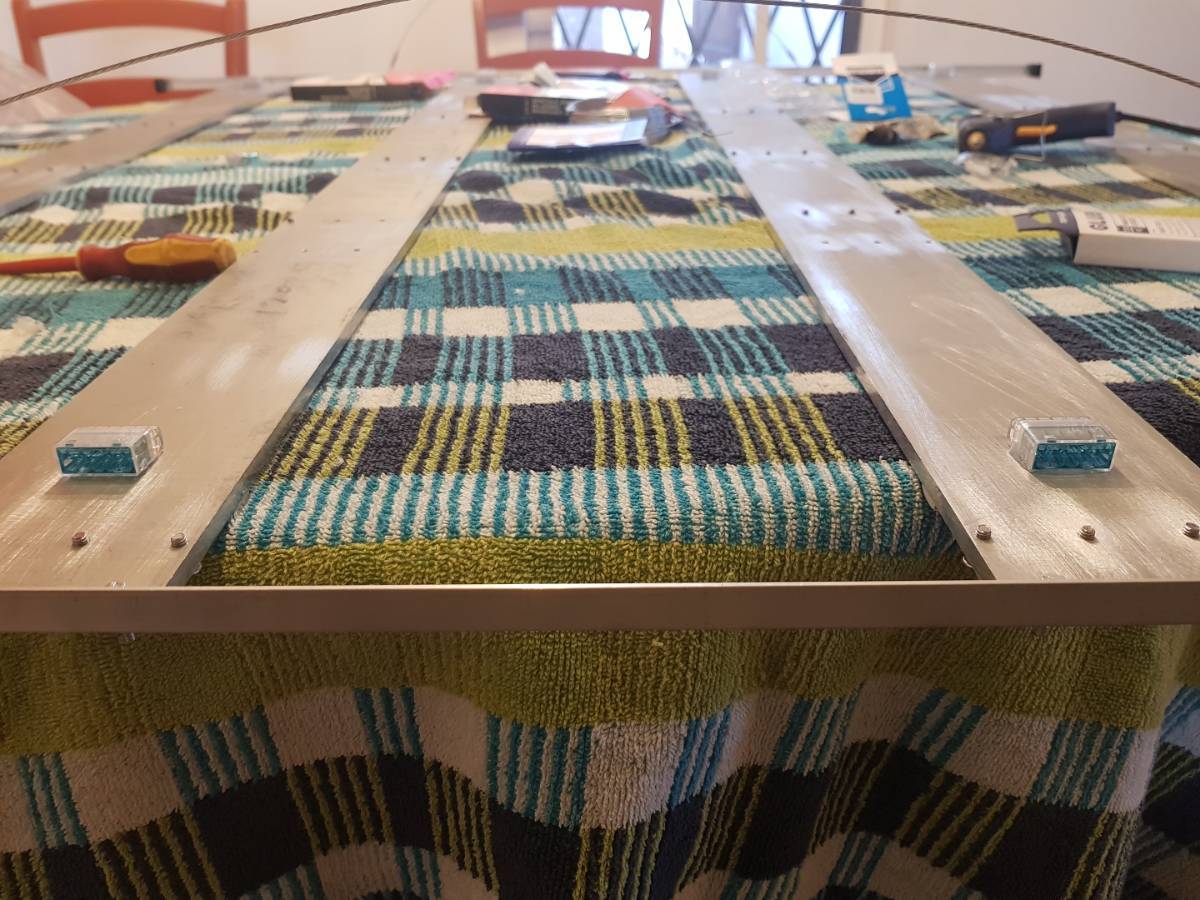
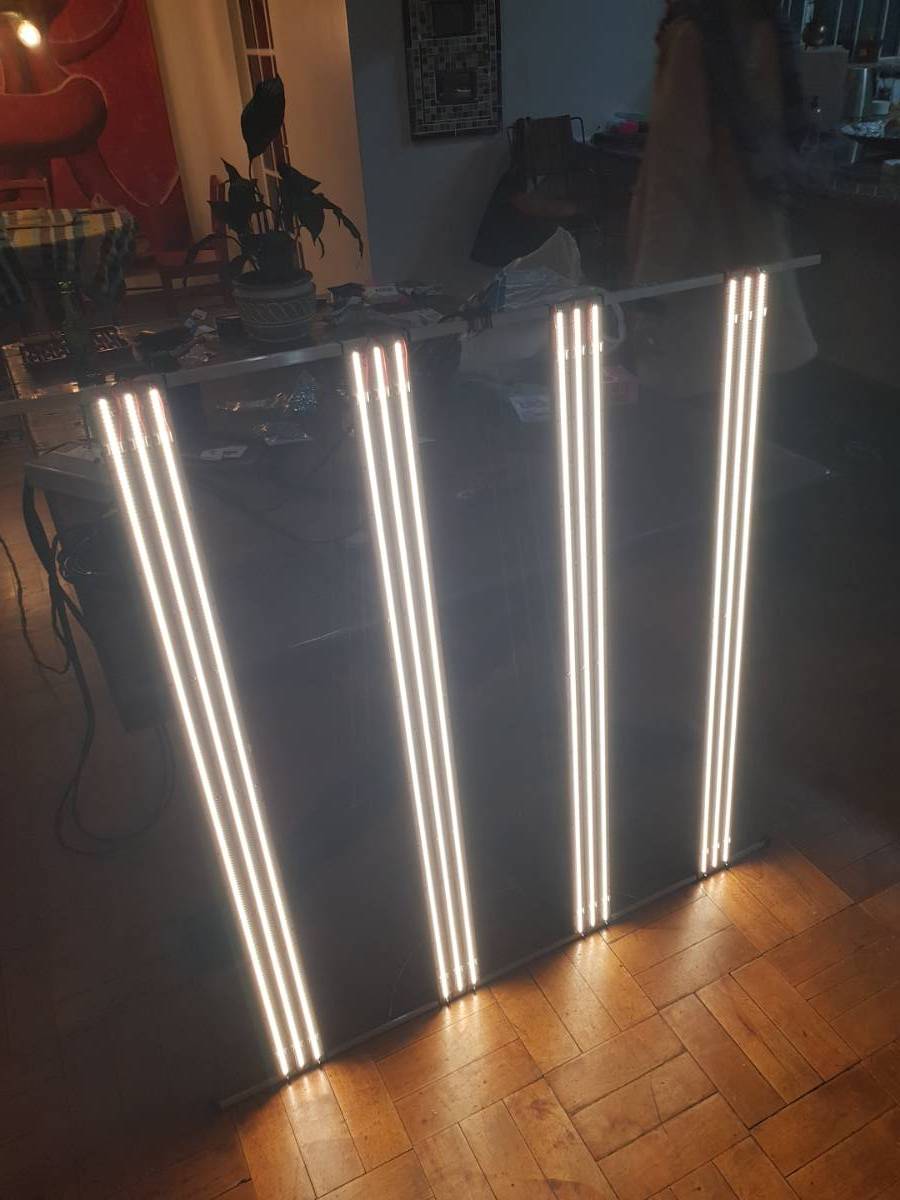
So to begin I had to get alot of the dirty work out of the way. I decided to group my strips into 4x groups of 3x strips. So basically it would be 4 bars with 3 strips on each. I measured the width and length and figured the aluminium bars I had were wide enough to take 3 strips each. Making wiring abit easier and I used less wires than expected. Note that all bars were cut to 1.2m to fit the led strips and to fit into a 1.2m tent. I think I cut them even shorter just to make sure they fit in the tent as the tent isn't exactly 1.2m . Anyway. Not going to be doing the exact measurements as I can't really remember. So all the bars were cut to size and I decided to drill holes throught the bars to mount the strips. I aimed for 5 screws per strip. Way too many I would say but anyway. I also threaded all the holes so I didn't have to use little nuts to tighten the screws, even though that is not a bad idea because the threading took kak long. I had to thread the bars twice as a friend and I made several mistakes (under the influence of beer and weed). I also used a heatpaste to transfer the heat from the strips through the bars, and what a serious waste of time. The strips, even though 3 on one bar, doesn't get anywhere near hot enough to be concerned. I honestly think its like 21 degrees or something. Don't waste your time and money on that crap. Also it doesn't dry out like normal silicone and rather stays "wet" forever. It can become a very messy storey.

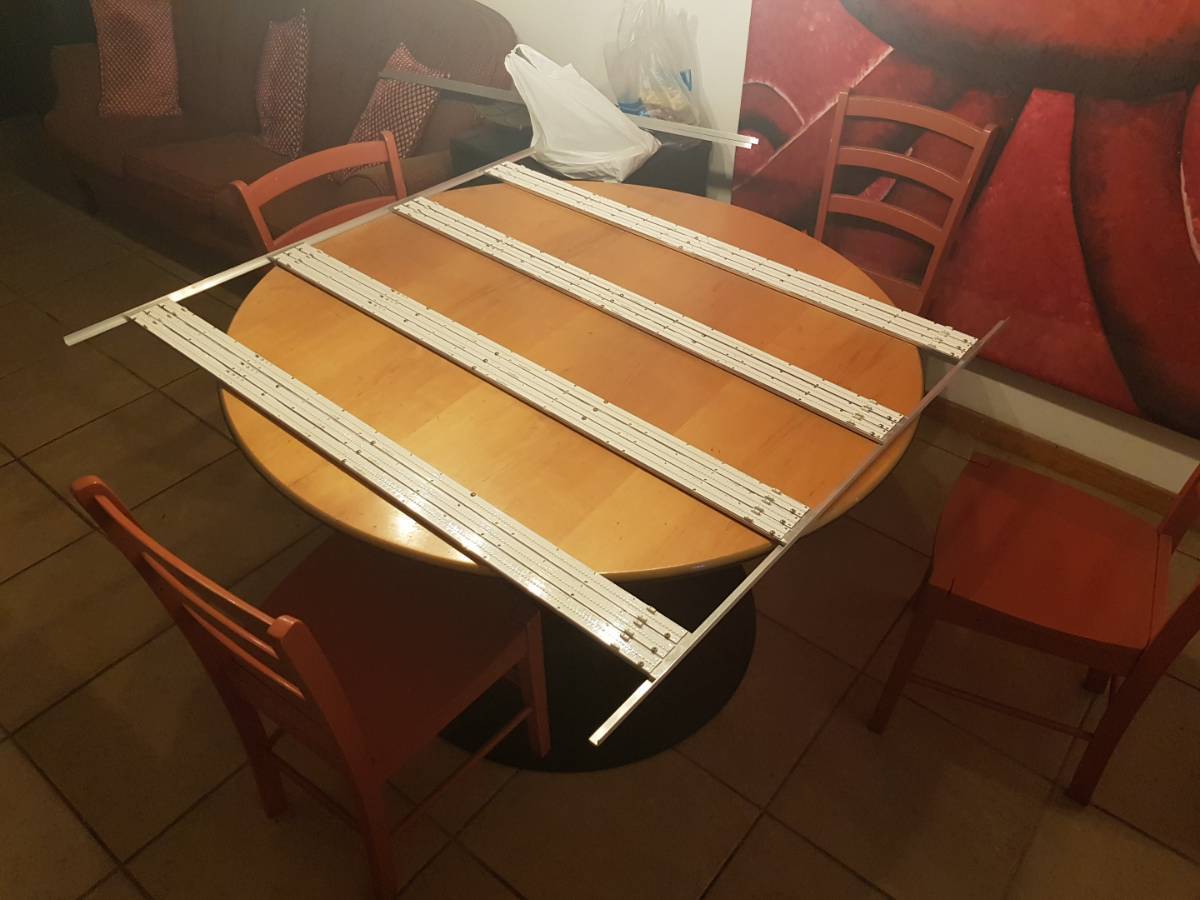
I used 2 screws on each side of the bars when mounting to the angled pieces just to make sure I won't have any sort of swaying on pivot points. This was just to stabilize the build. I also did not shorten the angled aluminium simply so that it could keep its position nice and centered in the tent and not lean to one side. I made sure to use plastic squares to plug the corners so they don't tear into the tent.

As you can see their sizes weren't perfect but I squeezed them on and they stayed there. No glue and shit.
Once I had all 12 of the led strips mounted onto the bars and all the bars mounted onto the angled aluminium, it was time to start the wiring.
So, as some of you may know that followed the wiring thread, there was alot of questions about the driver and why it had the two outputs etc. I am not going to discuss why they have two outputs on but I can assure it is for a good reason and probably for safety (some electricians said I could use just one of the outputs as it wouldn't matter, which I understand buuuuuuut it was designed like that for a reason, so I used both. Less of a fire hazard).
Firstly I connected the main power cable which was 3 core, and extended the input cable of the driver with the 3 core flexi cable I got, and also connected a 3 point plug onto the end so I can plug it into a wall socket. Lol. I used the waterproof connector to connect the cables and created a nice long extension of the drivers' input cable. This helps alot as I don't have to struggle with extension cables. I then used some of the 3 core flexi cable to extend my outputs from the driver. I connected them with the coated ferrels and then used the heatshrink to cover it nicely. Heatshrink is the shit. I love it. Note that the two output cables from the driver have 2x cables in each. So that's two red(+) and two black(-) wires and no earth. The earth cable was then just cut short. At the end of the two outlet cables I just left them open and soldered over the copper to make it a little neater and more solid as those 4x points would go straight into the chocolate block which is mounted on the frame. I did it this way so that if I needed to move and pack up the light, I could just disconnect it from the chocolate block and I would have just 2 pieces to carry around (1x driver and cables, 1x light).

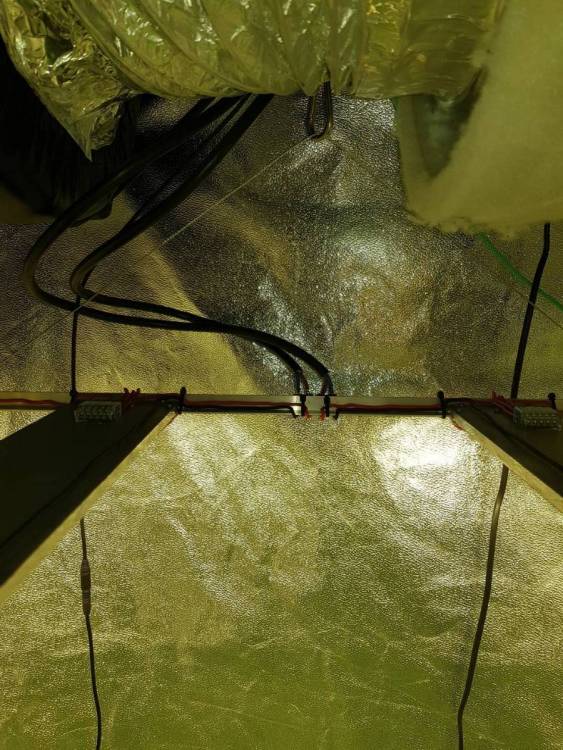
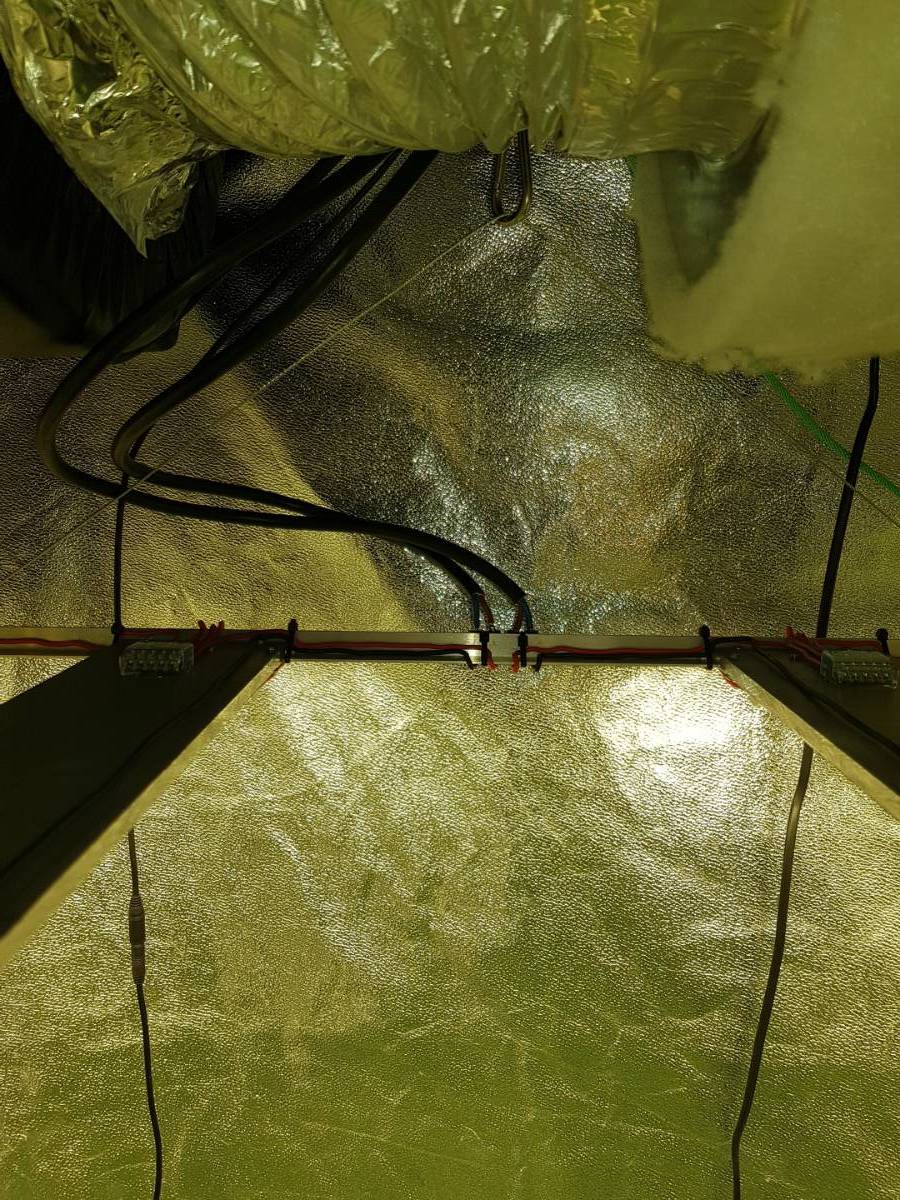
As you can see I just used electric fence wire to make the frames hanging cable which I just connected between the bars on the angled aluminium to make sure the whole light does not bend from being too heavy etc. If you connect it to the outer edges you start getting a bend and warp, which then doesn't help with the direction of the lights.
I used wondafix to stick all the wago connectors to the back of the bars.

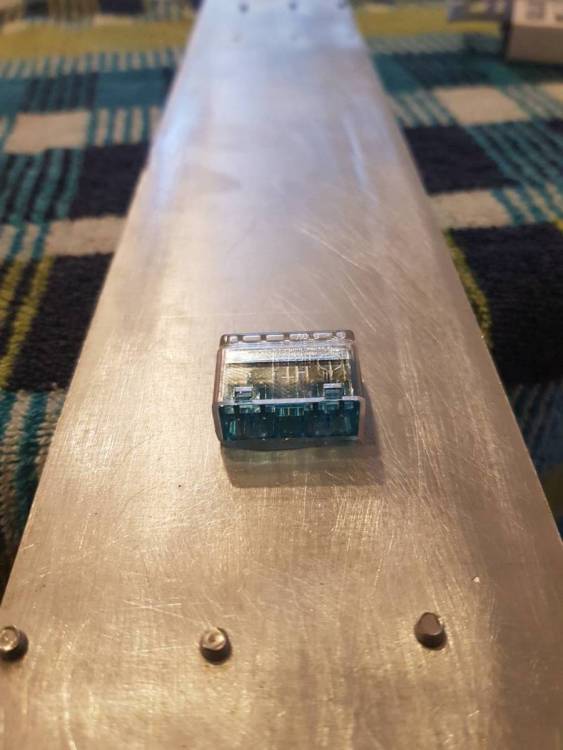
When I had to wire the red (+) ends of the bars (3x strips), I just ran 2 red wires from the choclate block to the wago connectors and then spread the power between all the positive ends of the led strips. I also just ran the two black (-) wires across the back of the bars (strips) to the opposite end where all the black (-) connections were and fed them via the wagos. Also I just glued the wires to the back of the bars so they would not move around too much.


I also just used cable ties to keep everything neat on the frame.
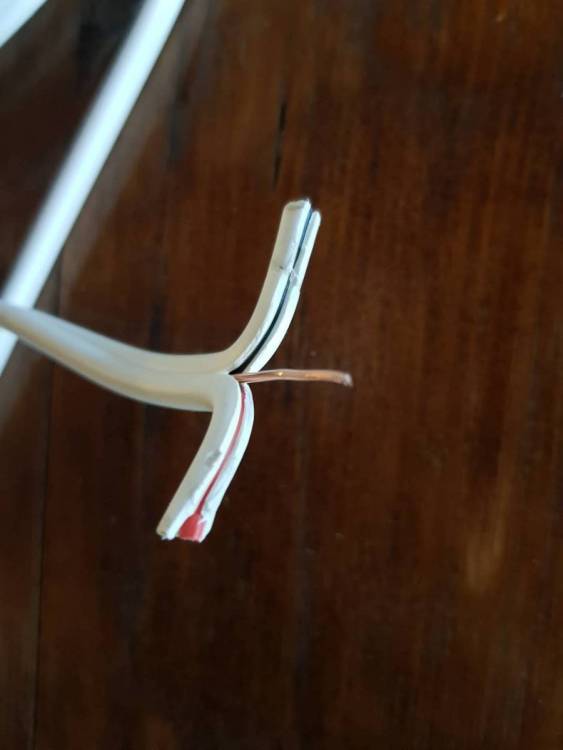
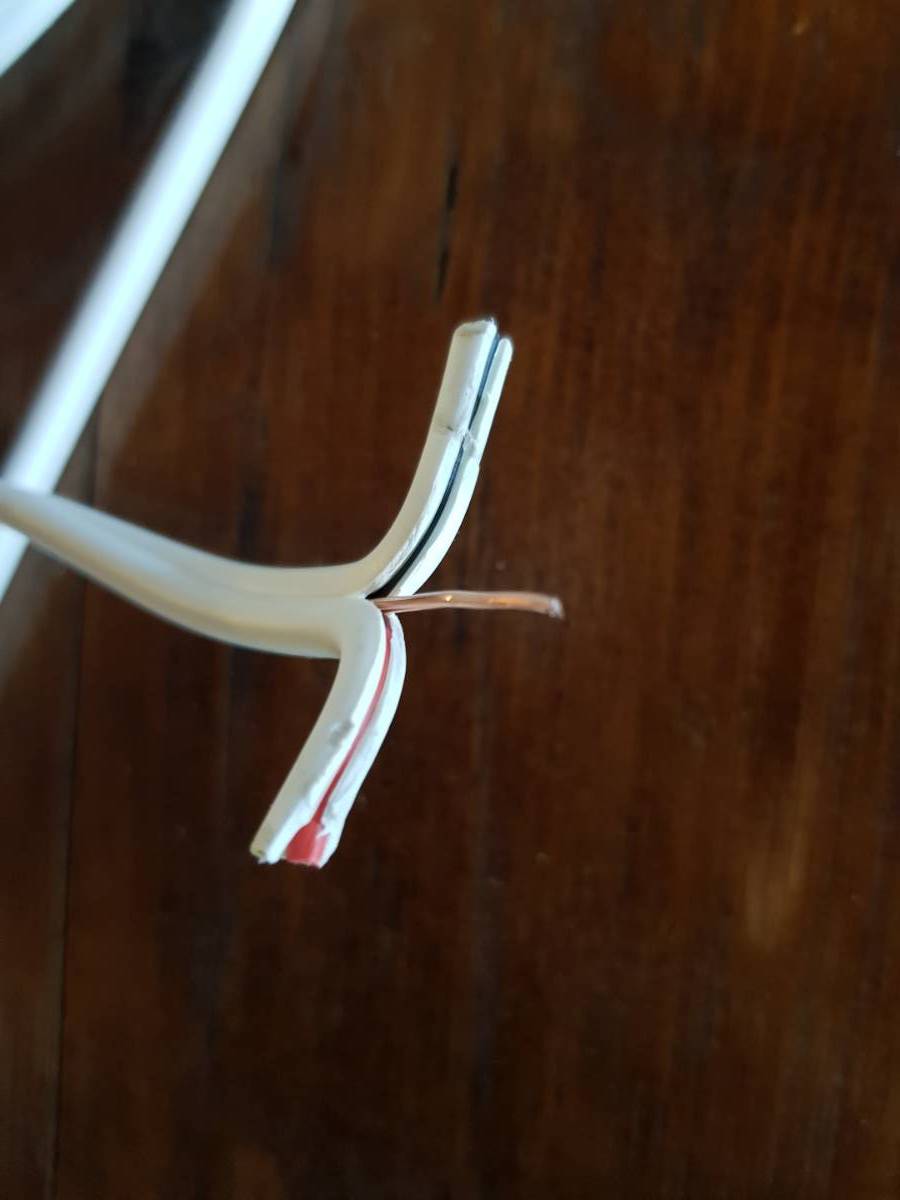
I used twinflex cables for my red and black wires. This wire is semi flexible and keeps the shape you bend it into which is great if you want a permanent built frame with lights etc and no wires dangling everywhere. In order to get it out of the hard white plastic which houses both of them, I would pull the earth and it would strip the red and black from one another. Making it alot easier to work with.
I can't tell people not to build their own lights because there are way cheaper options available online which are already built but damn it was an exciting and interesting journey. This is something I have always wanted to do and now I feel like I have the confidence and abit extra knowledge on how to tackle something like this. I really hope this helps someone else deciding if they want to go on a similar journey or not. Hopefully someone could learn from the ideas mentioned and probably better them or personalize them their own way.
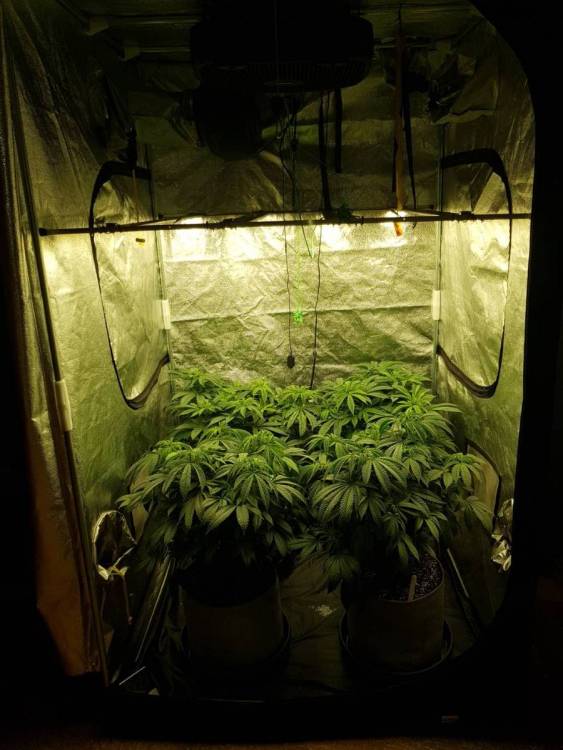
One positive I found is this thing saves a shitload of space vertically in my tent.
Thanks for watching.

Note: this is not my design but one of the many on LEDgardener.com
-
8
-
 6
6
-
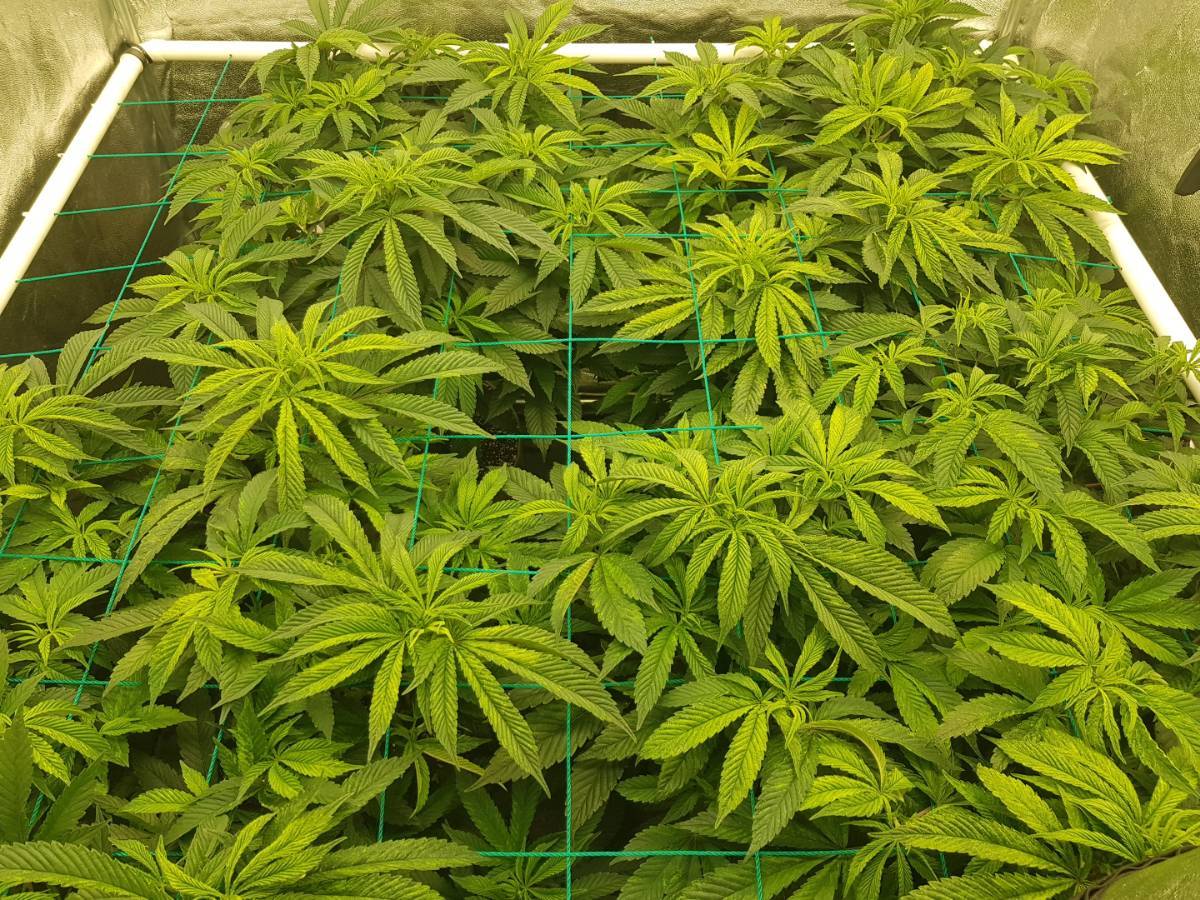
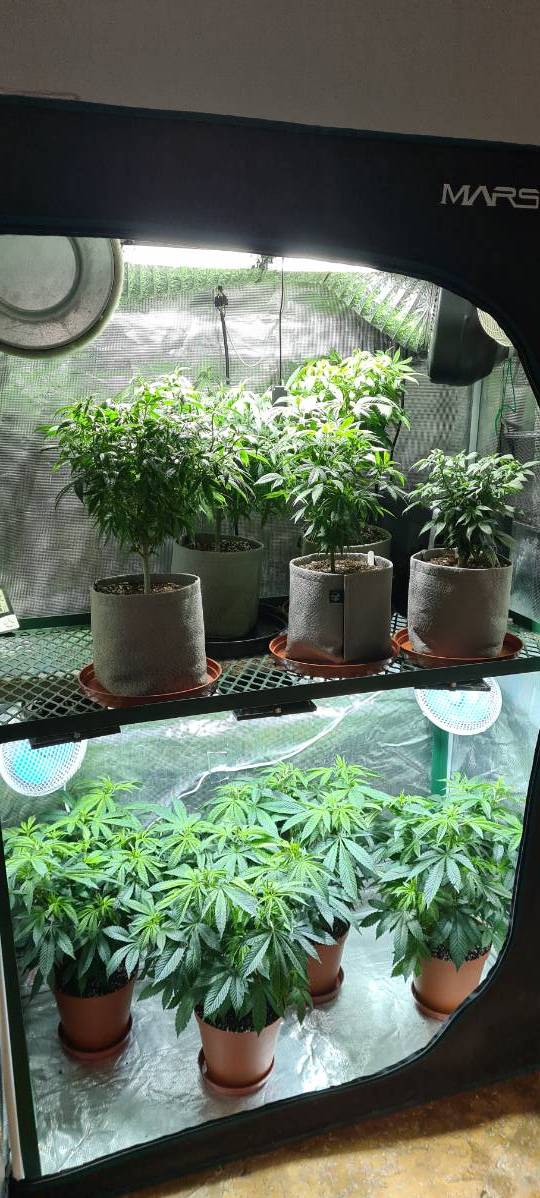
Nice man. Love the Jungle photos.
-
 1
1
-
-
Super fascinating actually. Just to add....I think there's more than just Big tobacco companies that are worried about cannabis or the Hemp plant. Big Pharma is scared of the plant, Big Oil companies are scared and Im pretty sure there were stories of cotton being direct competition aswell. Pretty sure it was also banned because it was seen as only black folks used it. Trying to supress them. I think Mary Jane has a tough past but she will prevail.
-
1
-
2
-
-
Awesome. Welocme to the forum. Plenty to learn around here.
I can't help but ask, what size QB are you planning on getting and from where? Do you have one in mind?
-
3
-
 1
1
-
-
Here are the prices from their website.


-
1
-
-
What is their price?
I know a company called NAFS (National Analytical Forensic Services) that asks somewhere around R1000 I think per test. But they do serious testing. All sorts of percentages on different THC's and CBD's etc. If I am not mistaken they even give a basic terpine breakdown
 , not sure.
If anyone has had a test done through them please post it. I somehow only took a photo of the company name and not the test results. Somebody else's stuff.
-
Thanks oaks.
I think I will keep it as is with the scheduled feedings but add a little more Calmag. I think I still have a abit of EC to play with. I will increase the Calmag for now and see what it does.
My biggest problem is I have to finish this grow before end October as I will be moving. Don't want to be moving with flowers in their peak. Therefore I'm forced to flip next week wednesday the latest.
Thanks for all the help.
-
1
-
-
Thanks for the response dude. Appreciate it.
So currently I am using the Hard water Micro as I live in central PTA. Well that's the recommendation as apparently we have harder water here (when I test my tap it says 0.2EC and the PH is usually like 6.8). This depends though because the PH does fluctuate a little.
I definitely think that the one strain seems to be handling it alot better than the other purely because of genetics. I moved away from buying bags of ready made soils as it wasn't consistent and I would get a hot soil now and then. Also I wanted to save money. I see alot of the guys sell ready made coco perlite mixes which then cost the exact same as the living soils. So for me I feel like it's a bit of daylight robbery. Either way. Just trying to become better with the coco and understanding it.
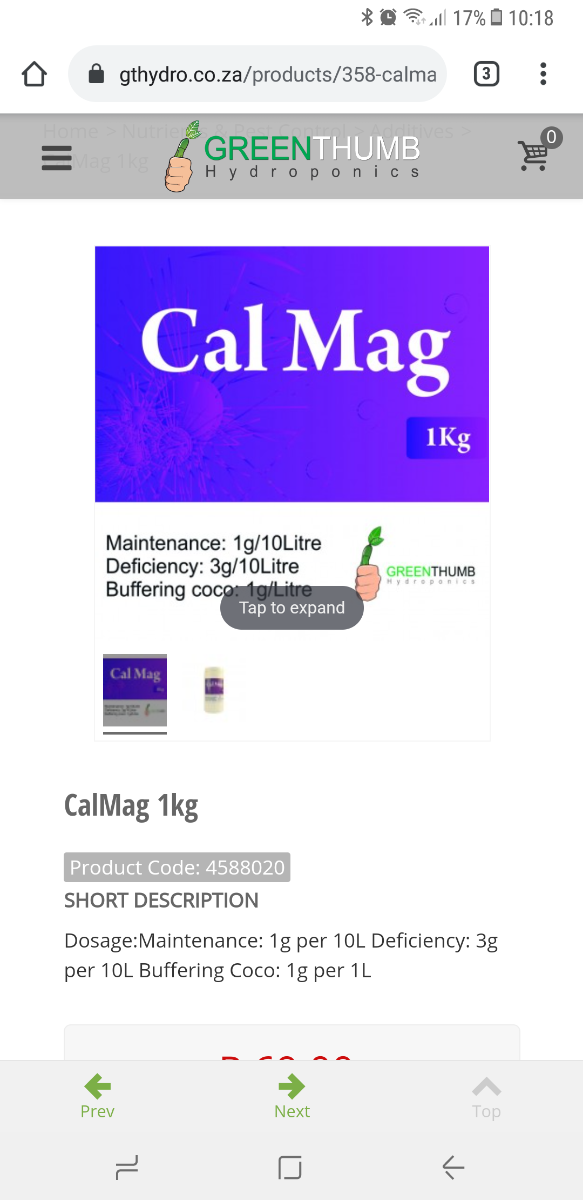
Great tip to use a little more micro and possibly my buffering might be too low. I just followed what they said on the pack. Here is an attached screenshot. Seems as though the buffering would be the same as the maintenance.
I have attached a screenshot from GThydro and I am pretty sure the Solid calmag from Hydroponic.co.za is the same

-
1
-
-
Sorry. "RO" water is "Run Off" water and not "Reverse Osmosi" water. Sorry if there is any confusion
-
Hey watsup guys.
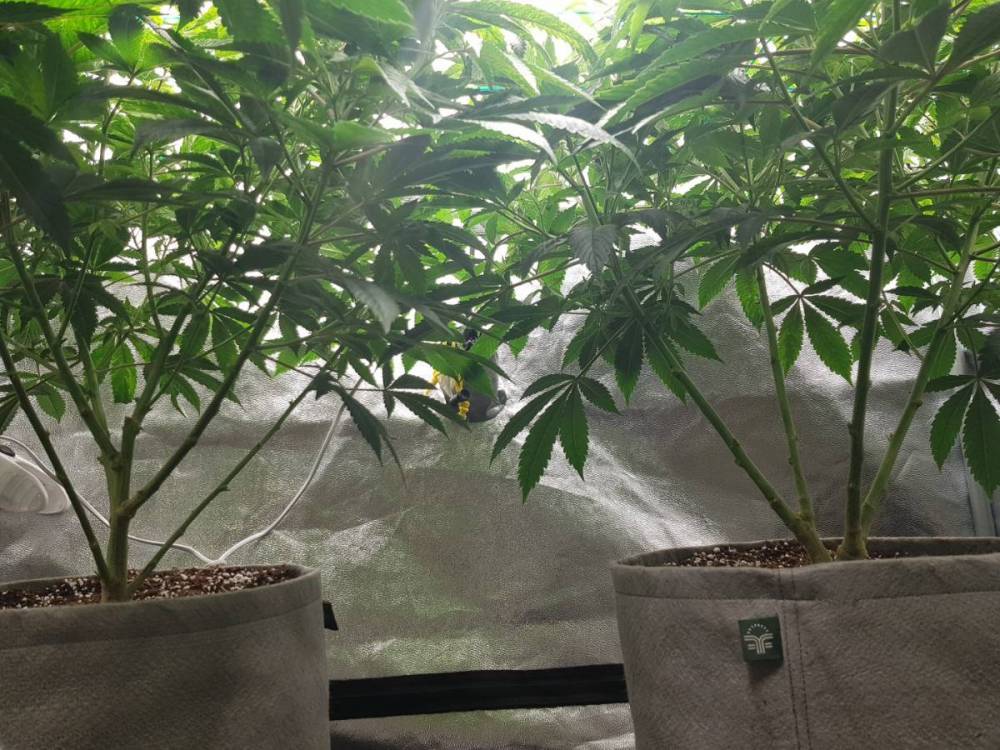
So I've just recently gone about experimenting between living soils and coco/perlite mixes with GHE tripart nutes. What I have noticed is that the growth is some much quicker with the GHE coco/perlite. I originally tried 2 different strains, both treated the same but for some reason the one is struggling with some sort of issue.
Break down:
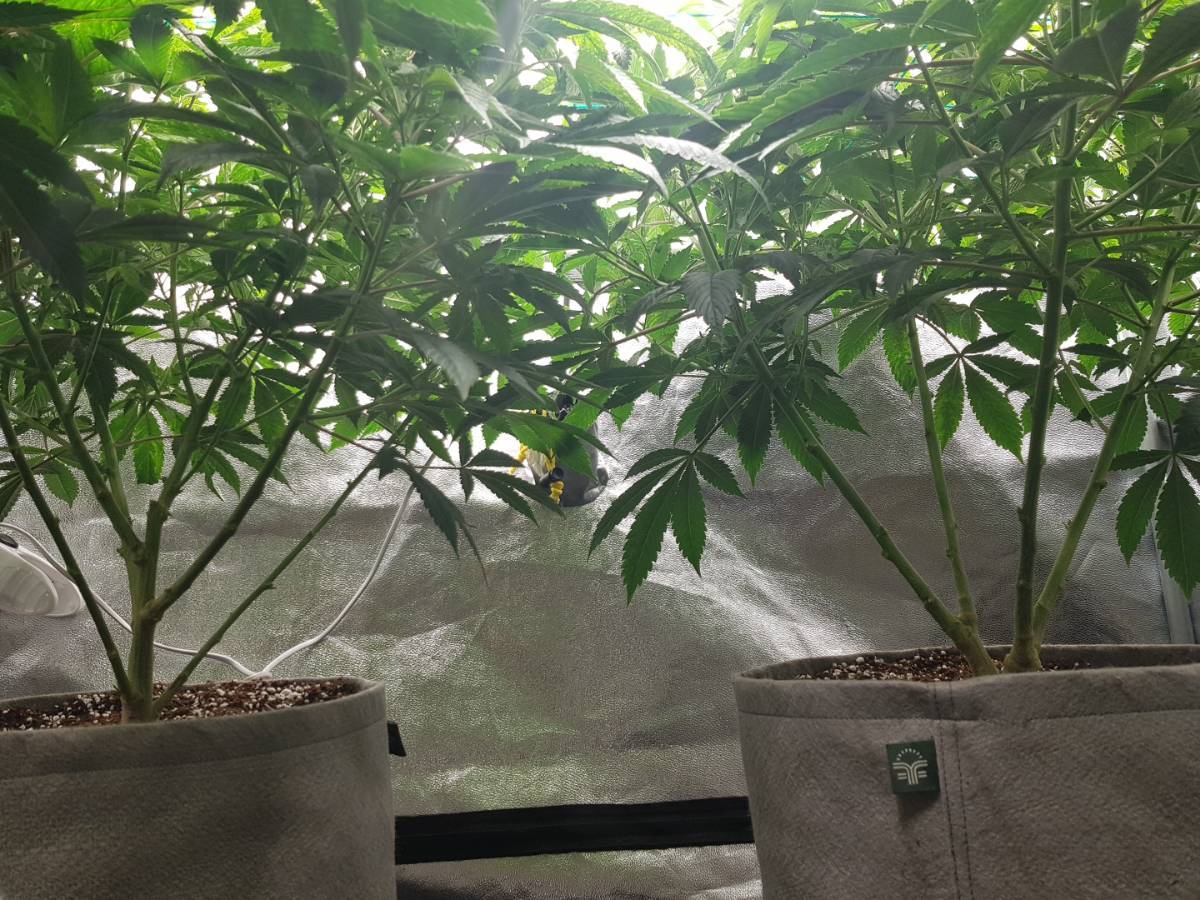
- 4x 20lt pots with coco 80% and perlite 20%.
- Coco was buffered for 24 hours everytime new substrate was made (used granual calmag supps, enough to bump EC from about 0.2 to 0.4 max. Usually not higher than 0.3EC), water was also PH balanced to 5.8 with the buffering.
- GHE tripart.
- Watering always between 5.8 and 6 PH and the EC is within the range for vegetative growth according to the final vegetative feeding amounts
- Plants went from clone to 12cm pots to 23cm pots to 20L grow bags, everytime going through the same buffering etc.
To be honest I never know how to measure my RO water. I would feed the plants between 2lt and 4lt of late, depending on how much RO I get. I usually aim for 20% to 30% RO.
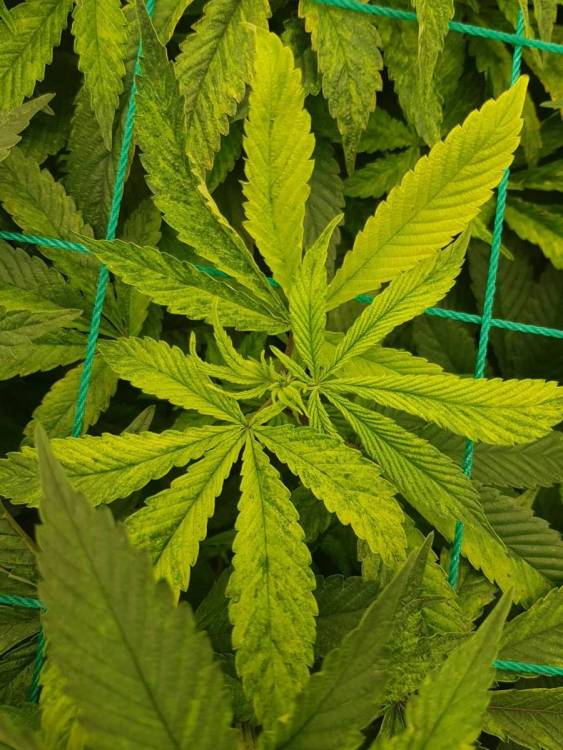
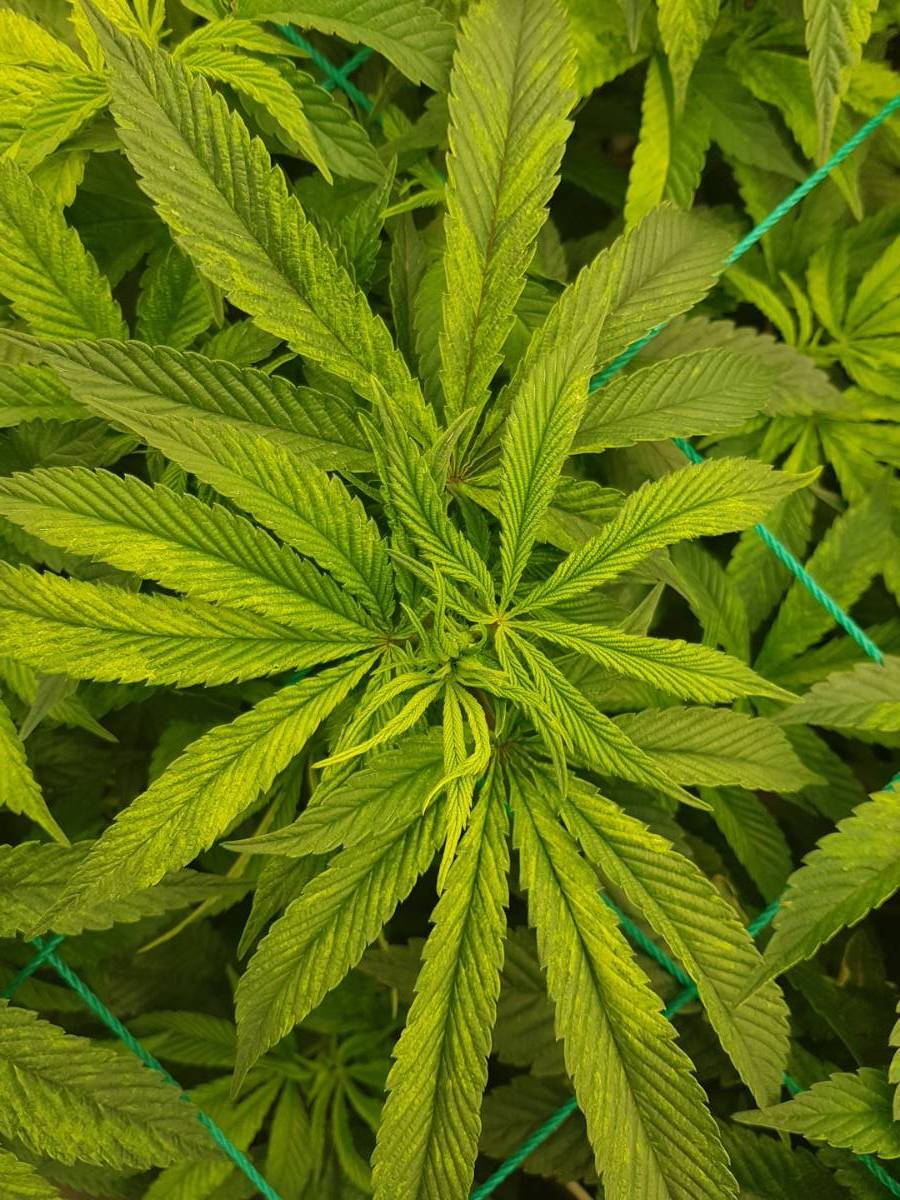
So the big question is what is making these specific plants do this and not the other strains? I have been noticing yellowing coming from the tops of the leaves. I am not too bad with understanding mobile and immobile nutrients etc. Maybe I am shit. I don't know. From my countless hours of trying to figure it out, the conclusion I have come to is that the plants are struggling from a sulphur deficiency. There is zero yellowing coming from lower leaves. At the tops they have been a little yellow throughout their lives and it's gotten worse now a week before flowering. The yellowing seemed very mild and would see blotches on leaves here and there becoming yellow and yesterday I saw for the first time both fan leaves growing from a node being way too yellow for my liking.


- What I have done so far is do a very light foliar spray of Epsom salts (1x teaspoon with 2Lt water) and the next day when I watered, I decided to give them each 2lt water with 1x teaspoon Epsom salts in the growing medium. Ph was balanced to 6.0 and out of interest I measured the EC and got close to 1.3 EC. Reason I haven't been adding Epsom Salts to the GHE is because then my EC would be through the roof.
I can't seem to think of any other info needed to help diagnose this issue. Please let me know if there are more questions that would help with diagnosing this issues. Also if you are super pro and know how to measure runoff and read it, it would be greatly appreciated for a quick explanation on how to measure and read it.
-
2
-
All the threads from now on.

-
1
-
 3
3
-
-
The way I know it is in the order Micro, Grow and then Bloom. If there is calmag involved that usually goes first as far as I know. The most import rule I remember is to not premix the nutes before putting it in water.
Here's a GHE video:
Note: I undestand this is before T.A. took over the brand/line/range so not sure if they think differently. Well......they don't really know......according to their responses.
-
2
-
1
-
-
2 minutes ago, Prom said:
I have to do that soon too.. where you ordered the granular?
What's up man. I got my activated carbon from a company called Puritech in Centurion in PTA. But I do see some of the grow shops sell it. Pretty sure hydroponic.co.za has aswell.
-
1
-
-
Good day fellow tokers and smokers.
Just recently one of my carbon filters started leaking alot of beautiful smells out of the flowering tent. I love the smells but probably better keeping it hidden from greedy fingers. I use a fairly large 8" (20cm) fan and carbon filter in a 1.2m tent. It might sound like overkill but it's for future upgrades, which should happen this year still.
Anyway. So I went and asked around, googled and didn't find too much info on refilling carbon filters etc. Usually it's either just wash the outside cover or buy a new one. So I decided to dive into it and get it done.
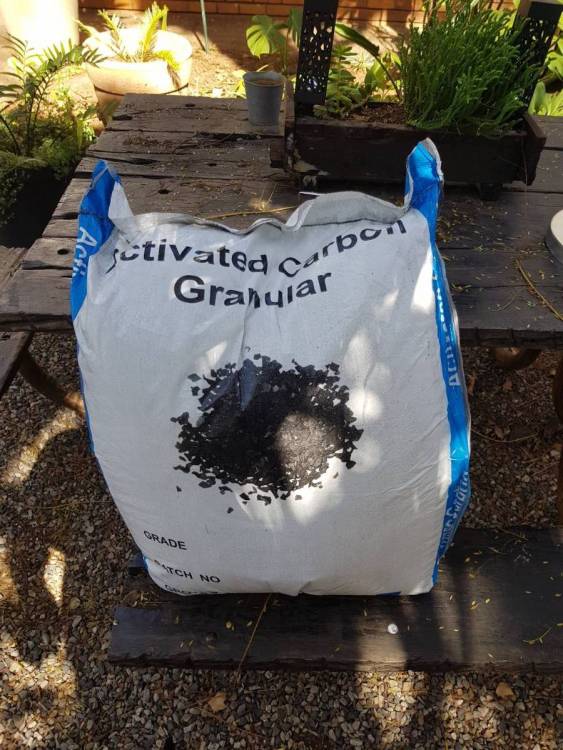
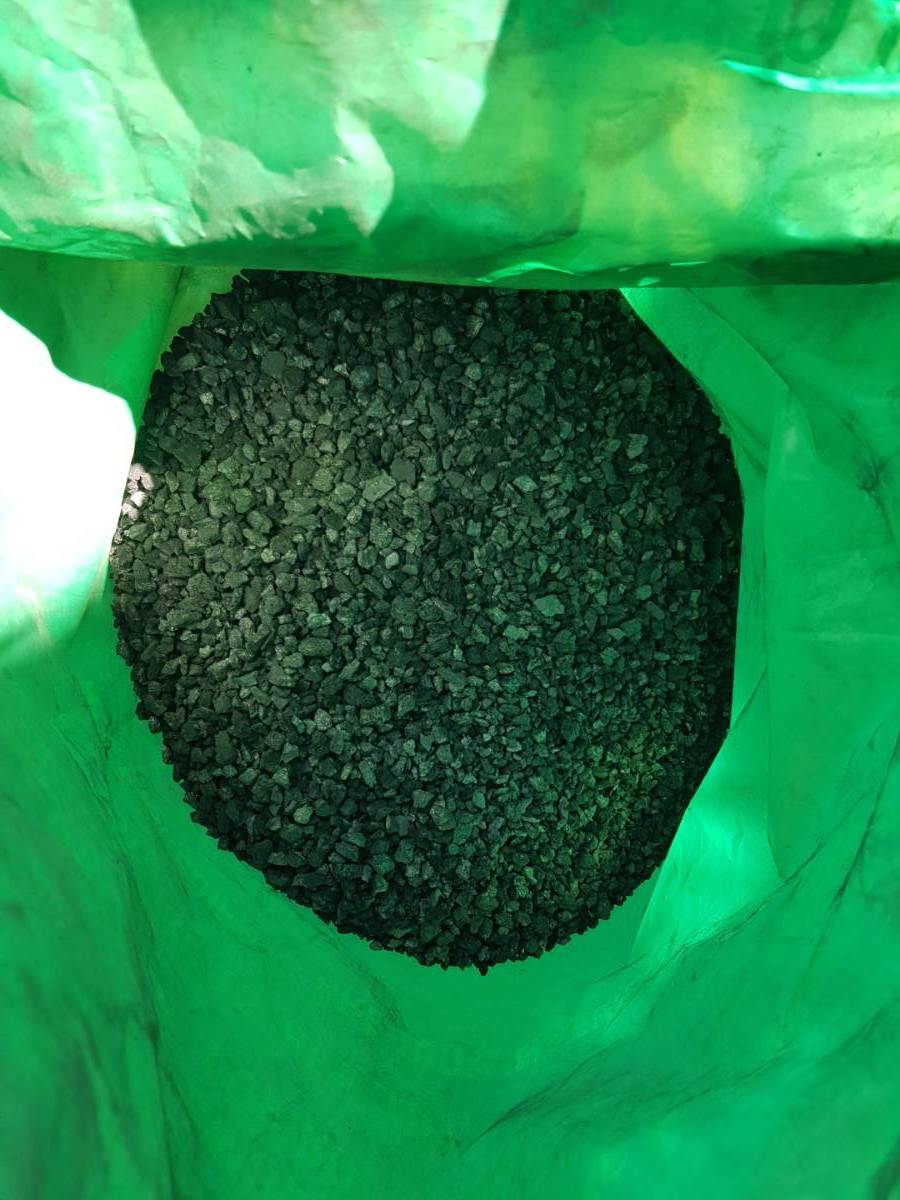
So the carbon filter I have costs a little over R3000 at some places for a new one. Abit expensive to replace every year me thinks. I didn't have to buy anything except the activated carbon which is also a tricky one. It's sold here and there but I happened to know of a water filter place that sold activated carbon not far from where I stay. I paid R900 for 25kg of activated carbon (I did find a video or two on how to reactivate the carbon through a process which included washing and baking it etc. The only baking I do is on my couch.)
So with the new activated carbon ready it was time to take down the filter, and let the house smell like a dispensary for a while (extremely nice working conditions).
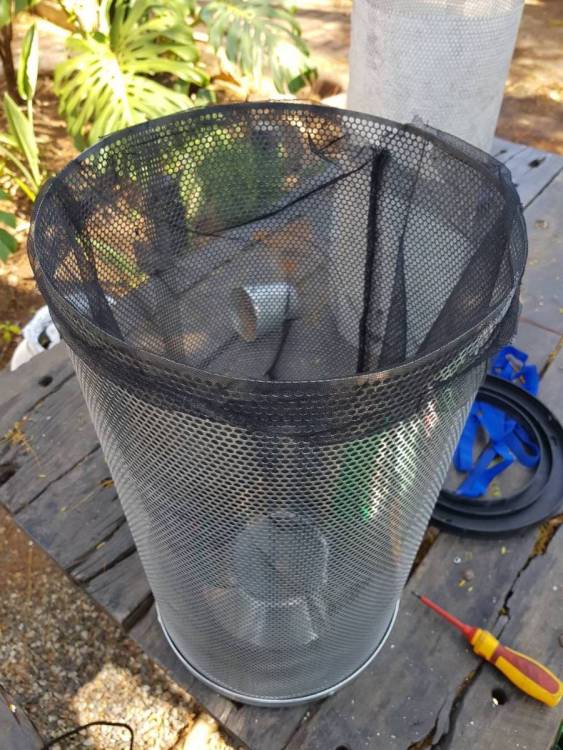
I took off the outer layer which was then washed in the washing machine. No issues with it getting ripped apart. I think it was just a gentle setting or something. Either way, hand wash will also work.
(Dirty outer cover, clean pic at the end)
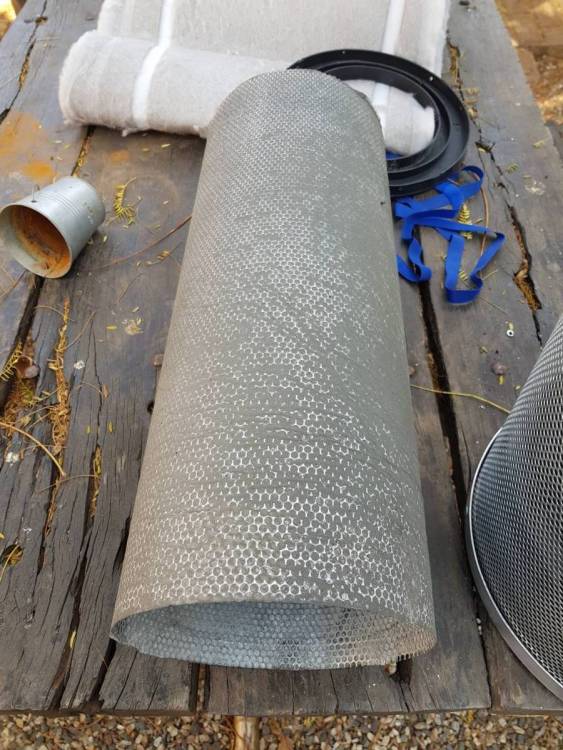
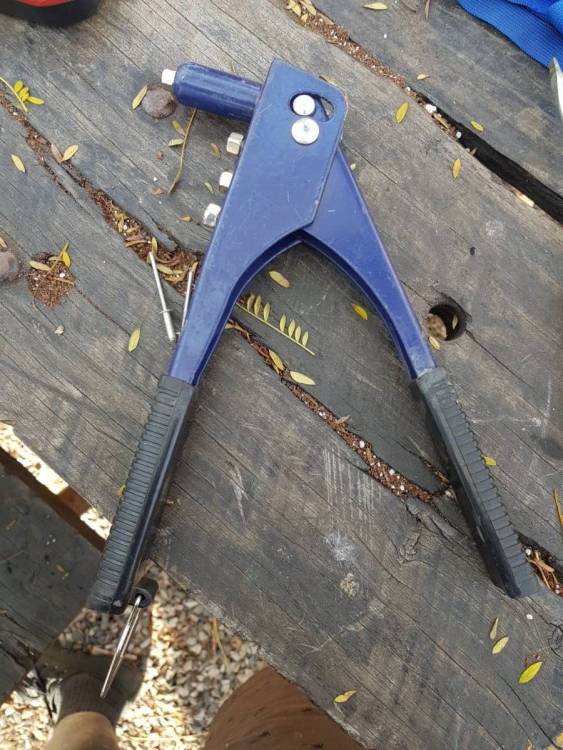
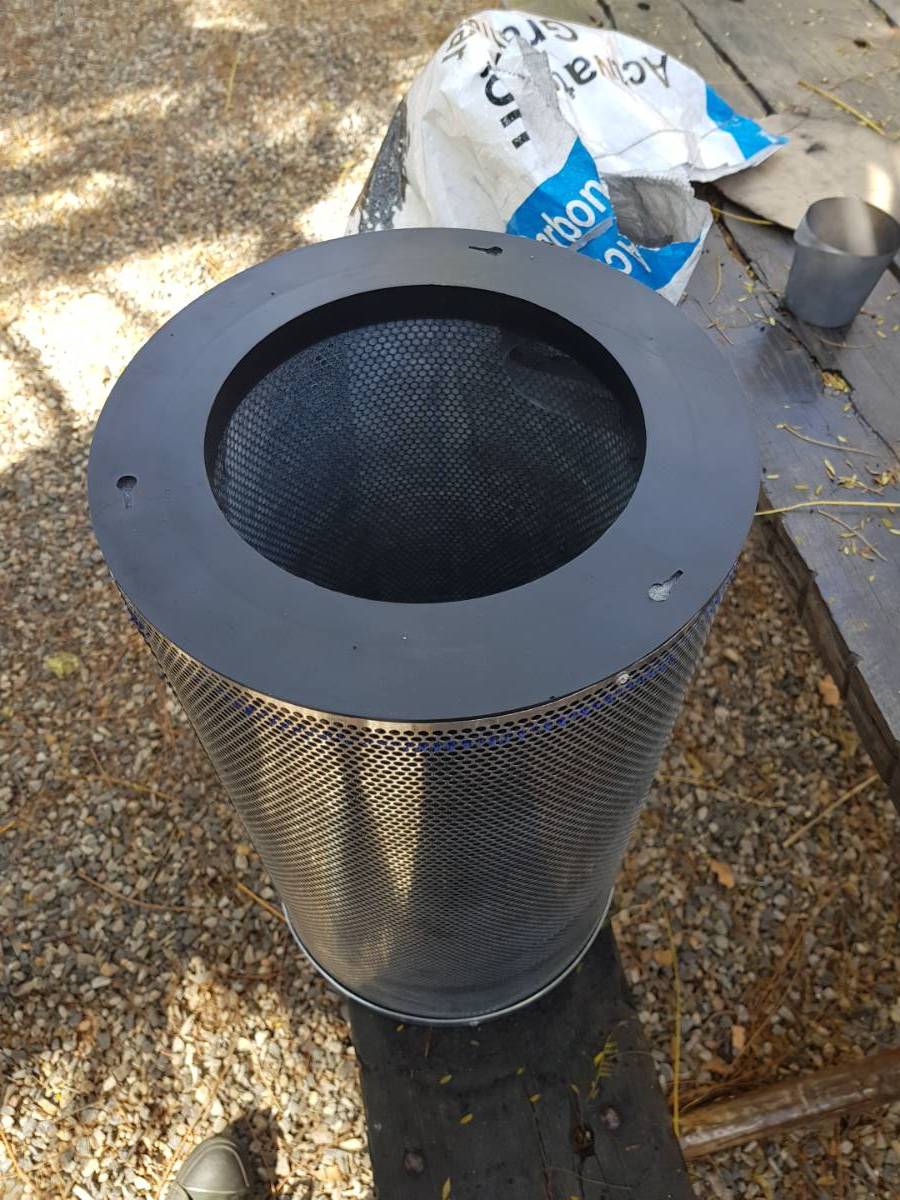
Once the outer material layer was removed and in the wash, I stood up the filter with the closed side at the bottom. I saw there were four screws on either side of the filter. We will be working just from one side (the open side) and there is no reason then to open the bottom. After removing the 4 screws I was able to remove the metal cover. Underneath the metal cover is another black plastic cover that is pop-rivetted to the outer metal casing of the filter. Using a drill and a 3mm bit I drilled through the 4 pop-rivets and then was able to remove the black plastic covering. I wasn't gentle enough and tore a little bit of the material on the inside when removing the pop-rivets but it wasn't too bad. Once all my covers were removed I was able to see the carbon that was on the inside. I dumped it all out into a bag.

Now I know that you get granules, pellets, coconut based and all these different kinds of carbon but I'm not going to get into which is better and all that rubbish. I noticed that the activated carbon I bought from the water filter place was about a 1/4 of the size of the granules I found in the filter. But that doesn't matter. I'm sure the more surface area there is the more it helps absorb the smells.
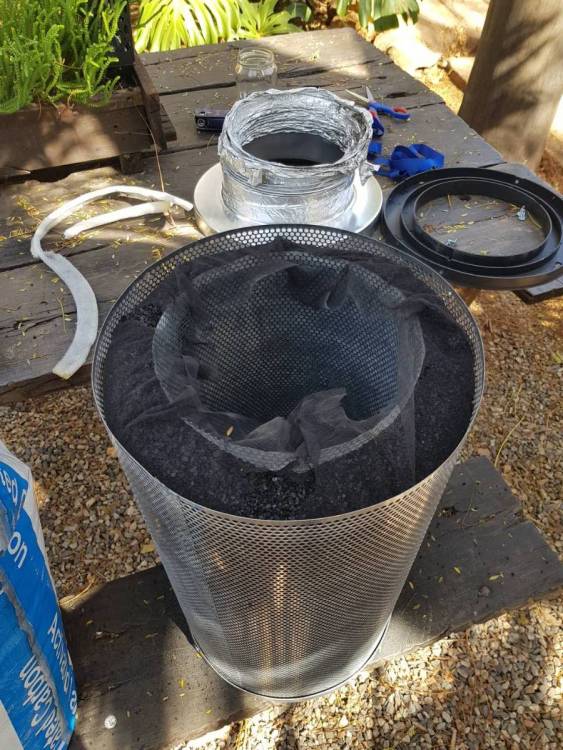
So once everything was dumped out I left the material and the outer metal filter attached to the base and was able to remove the inner metal filter.
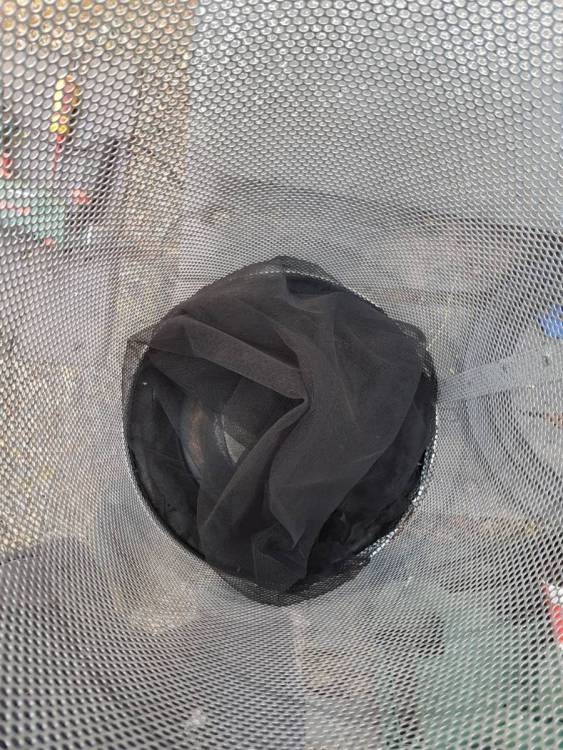
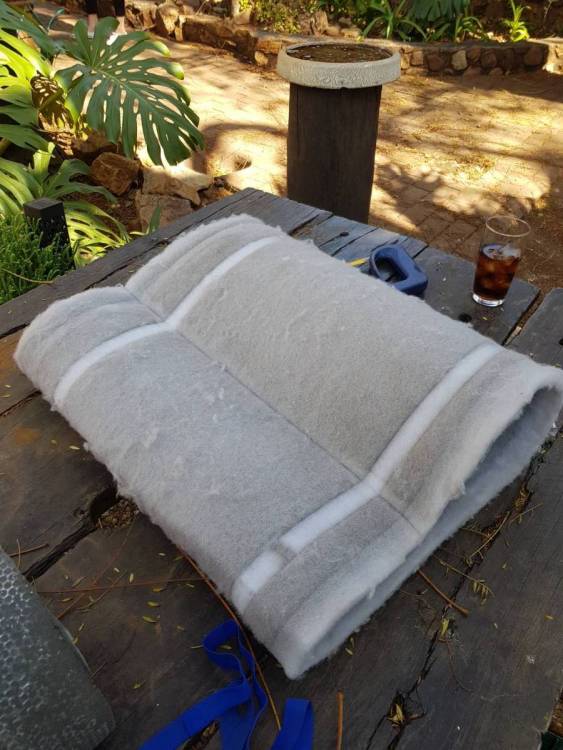
I never knew until I opened it that it was covered in a very thin white material that was stuck to the inner metal filter. I decided to give it a rinse with the hosepipe trying not to rip it apart. It was quite dirty and I managed to get it nice and clean. I tried an airhose but mine was from a vehicle so didn't have good constant air pressure. Sure either way will work.
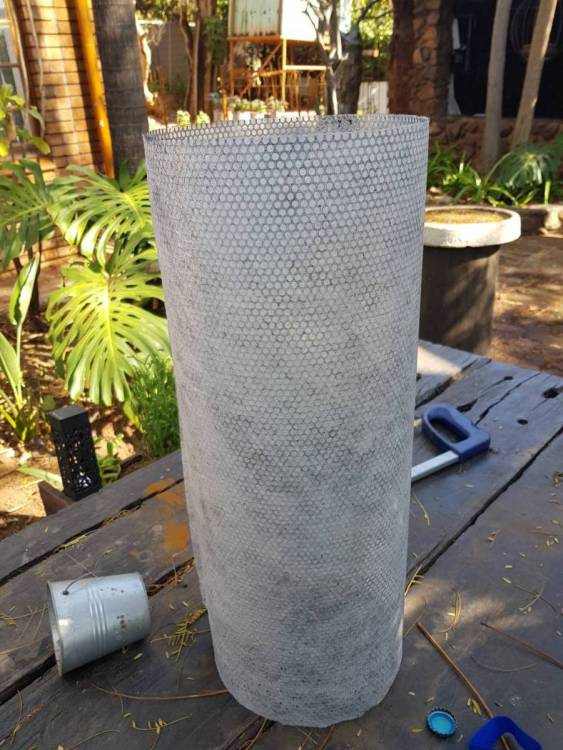
After I had given the inner filter a wash and let it dry in the Sun for an hour or two, I then put it back in it's place in the centre of the filter. I continued to then fill up the the filter with the new activated carbon. I didn't want to mess on the inside of the filter so I just cut out a cardboard circle to cover the big main hole. Looking back you could mess in there and once it's all put back together you could just turn it over and all the excess will dump out. Im full of shit so didn't mess around from point one.
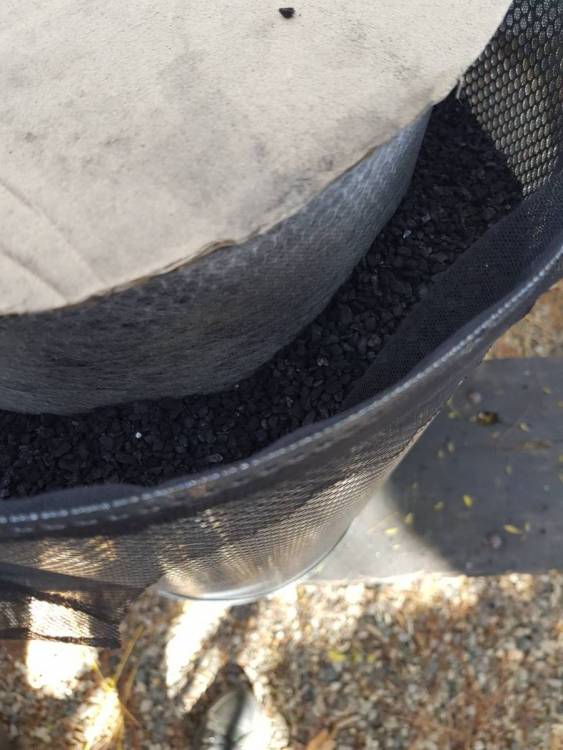
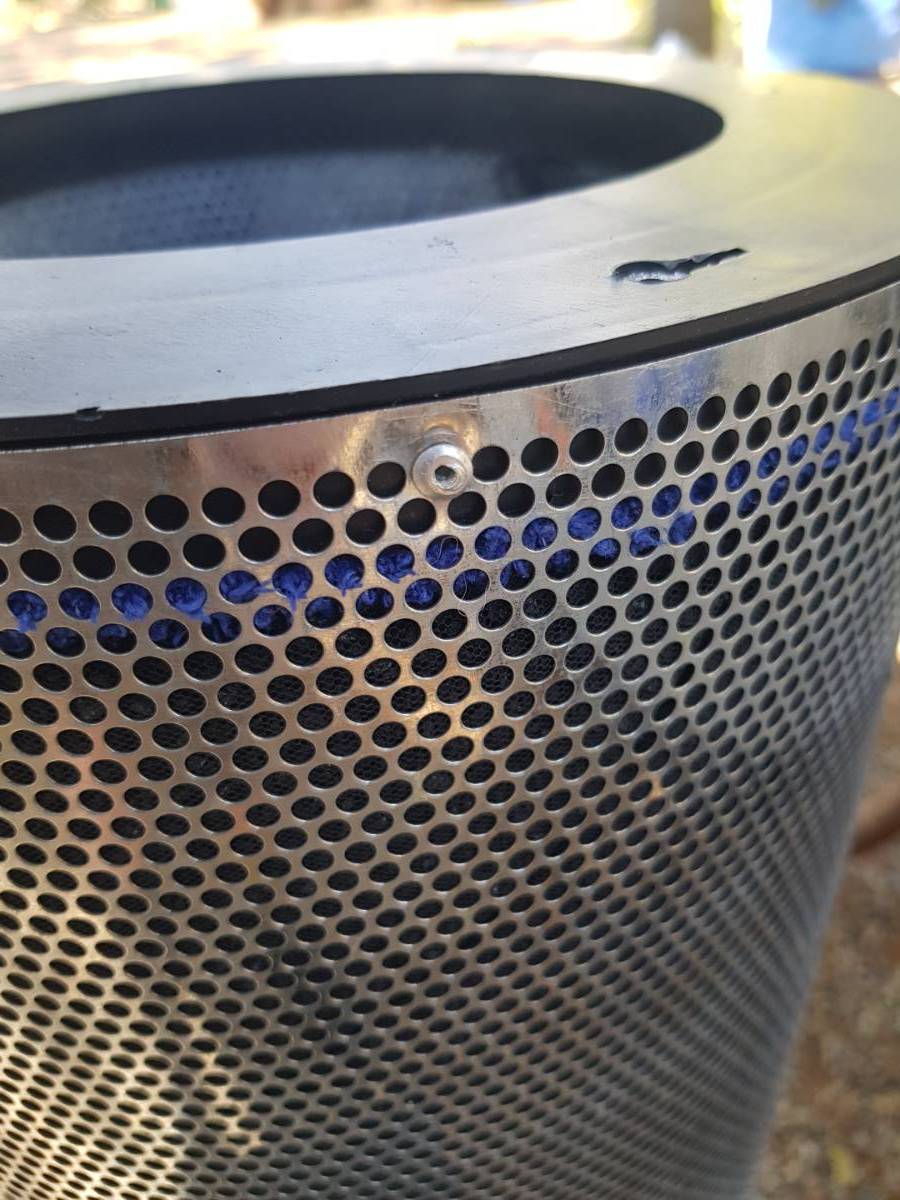
I tucked the black material mesh just over the edges of the inner metal filter to keep everything in place once it was filled. You have to fill it right to the top otherwise you will have big open spaces at the top of your filter when hung. I then got two old socks (blue and not stinky) and used those as a replacement for the little bit of foam I might have torn. I dumped the torn foam in there too creating a nice tight seal. Once filled I put back the black plastic cover and lined it up with the old pop rivet holes and plugged it with 4 new pop rivets.

(Notice the blue sock)
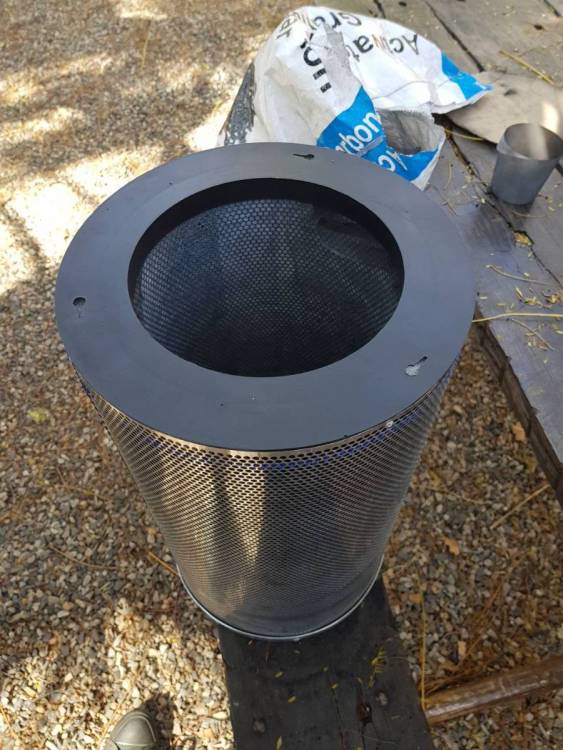
I then just put the metal casing back on and put the 4 screws back where they were and poof. Done. Now I just put the nice clean washed out material filter back on and she looks brand spanking new.

I used about 1/3 to a 1/2 of the activated carbon which means I only used about R450 to get my filter brand new. So far no smells but will see how long it lasts. When I bought it new it managed just shy of a year with no smells. Will see how long this one lasts.
Thanks for watching.
-
1
-
2
-
2
-
-
1 minute ago, Totemic said:
I also often flip to flower for just 4 or 5 days just to speed up the reveal. Going back to veg after only being in flower for 4 days slows absolutely nothing down. Plants in fact will respond quicker to Flowering once you do flip them again later
Nice. Thanks man. Never heard about that in my life. Everyday is a school day
So is this basically similar to monstercropping but just very quick?
-
1
-
-
Nice man. So far they're looking good. Really good.
What's the reason for flipping to check gender then revegging? I think you would save time just vegging them straight through.
-
1
-
-
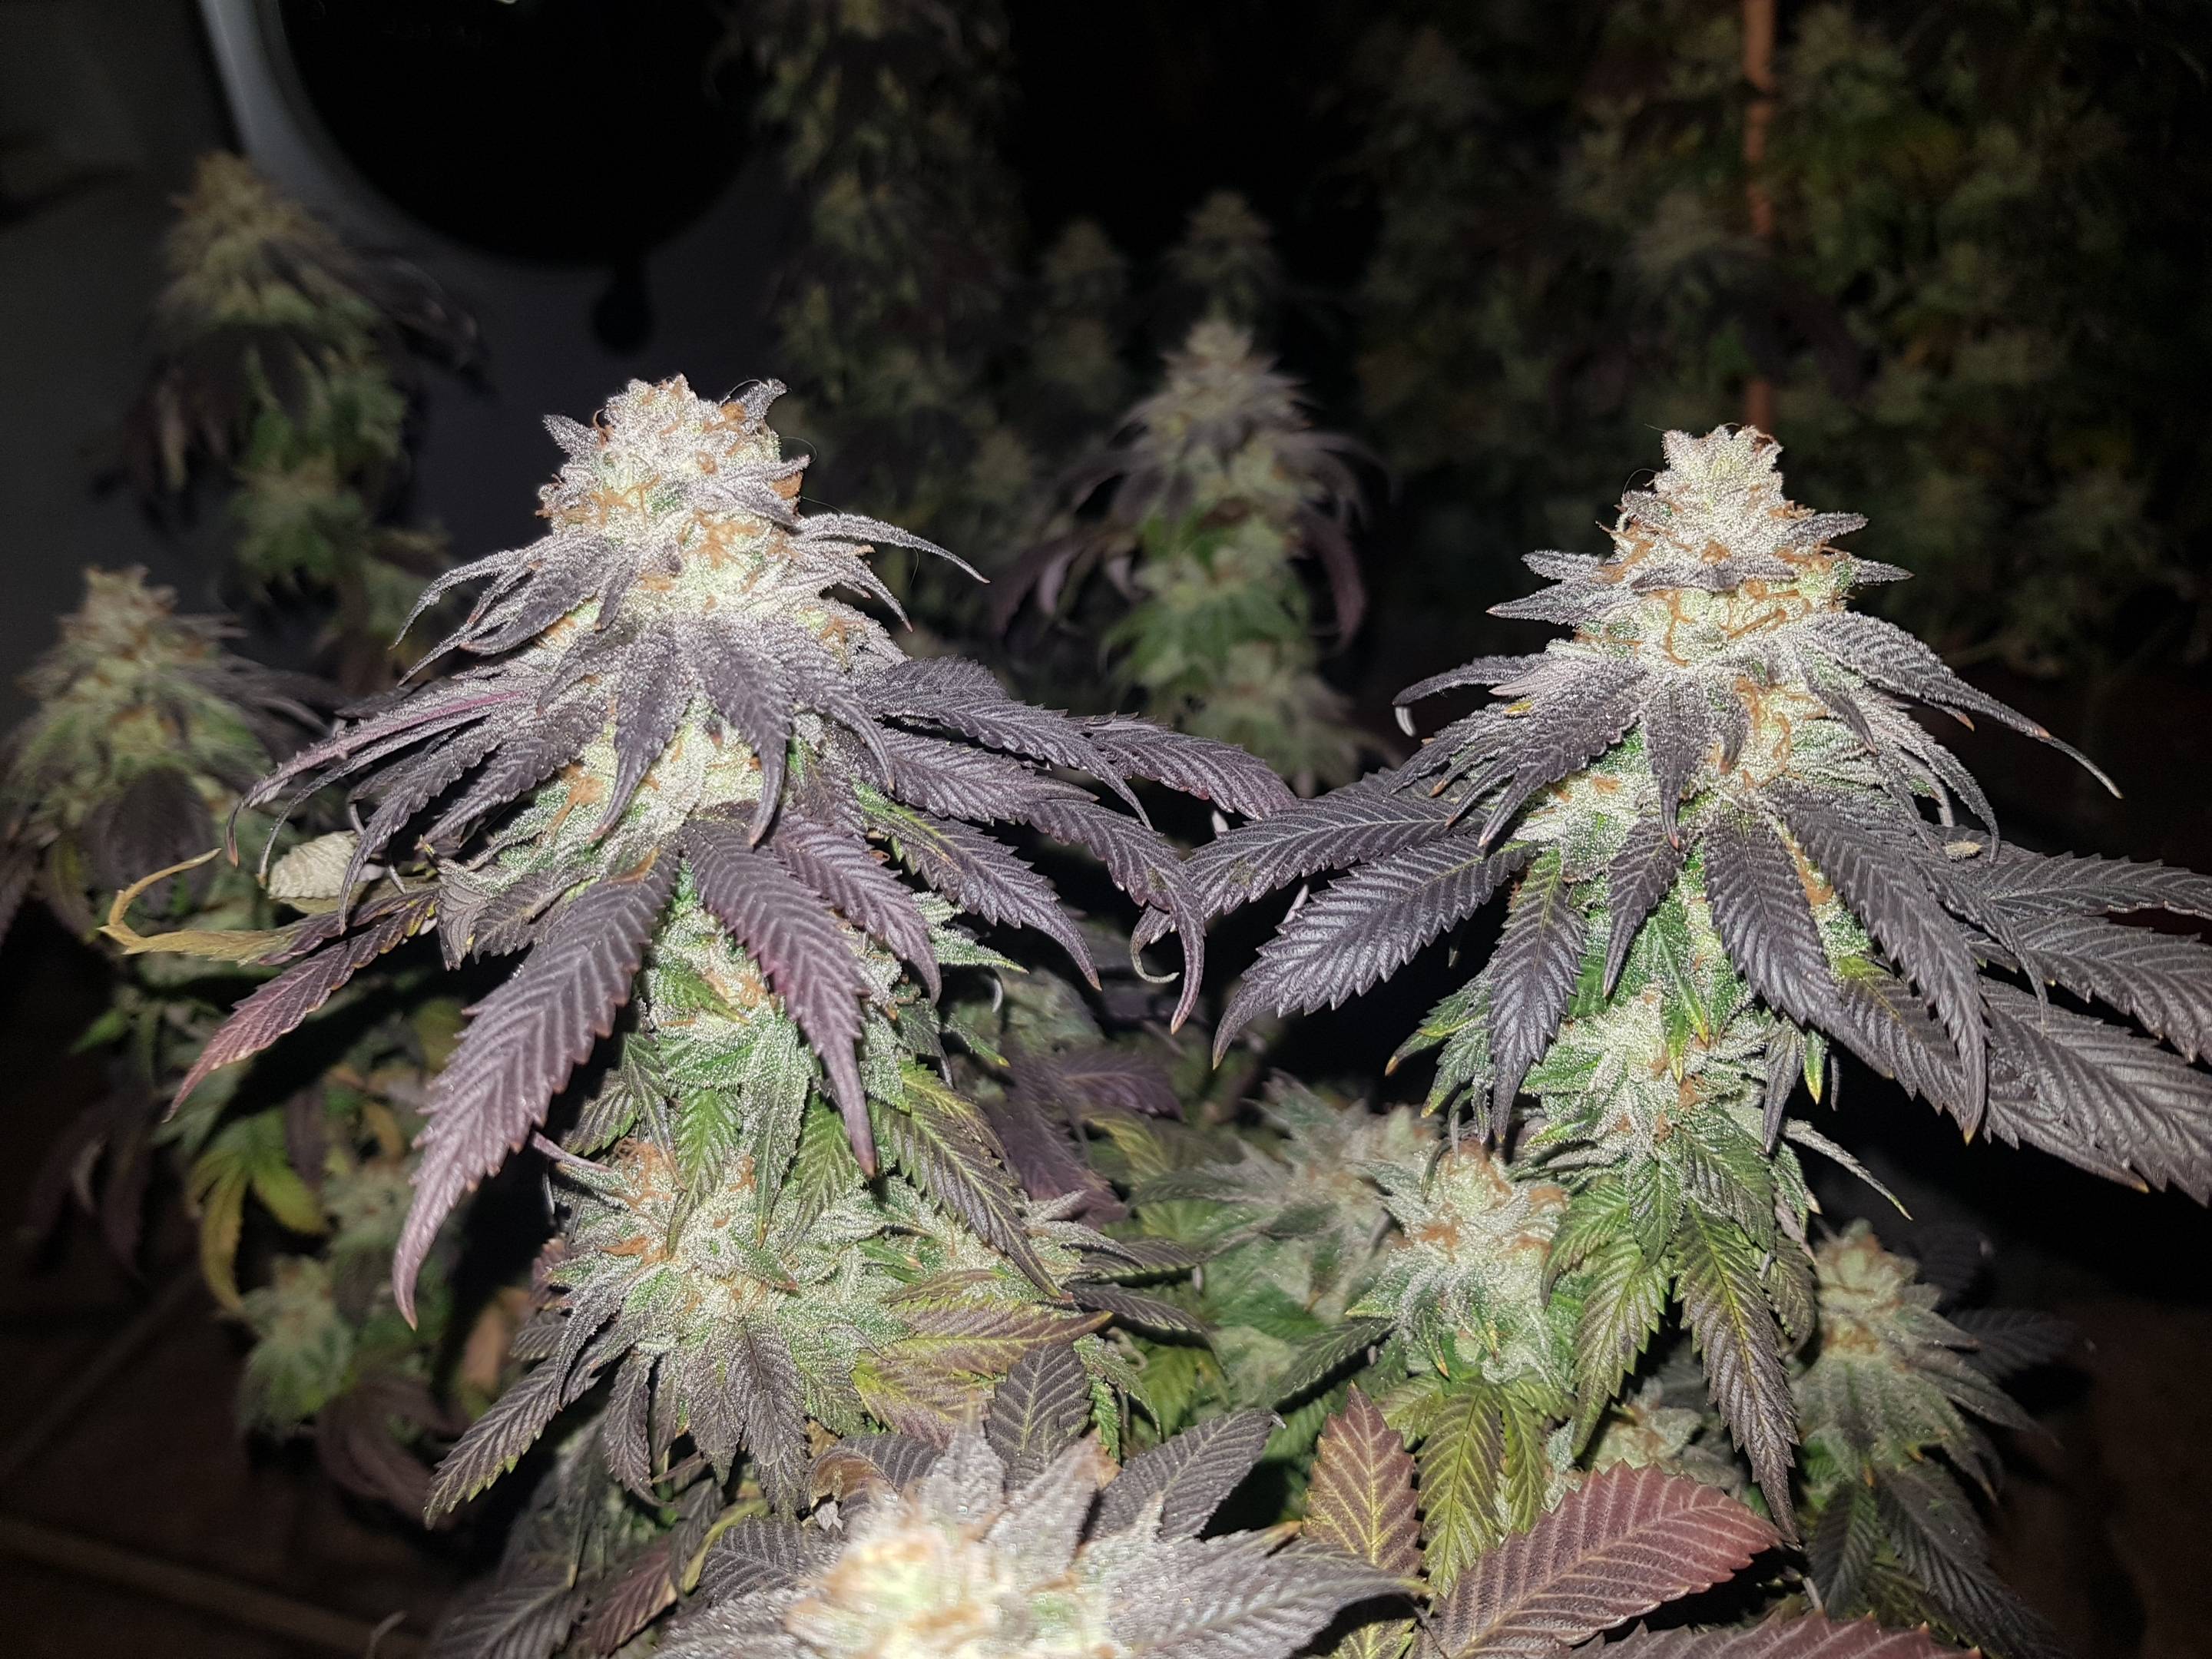
Very nice colouring on those ladies.
-
1
-
-
5 minutes ago, CreX said:
i love checking okes DIY work! especially when it comes out as neat as your net did man! nice one!
super light weight too
Thanks for the kind words man. Appreciate it.

-
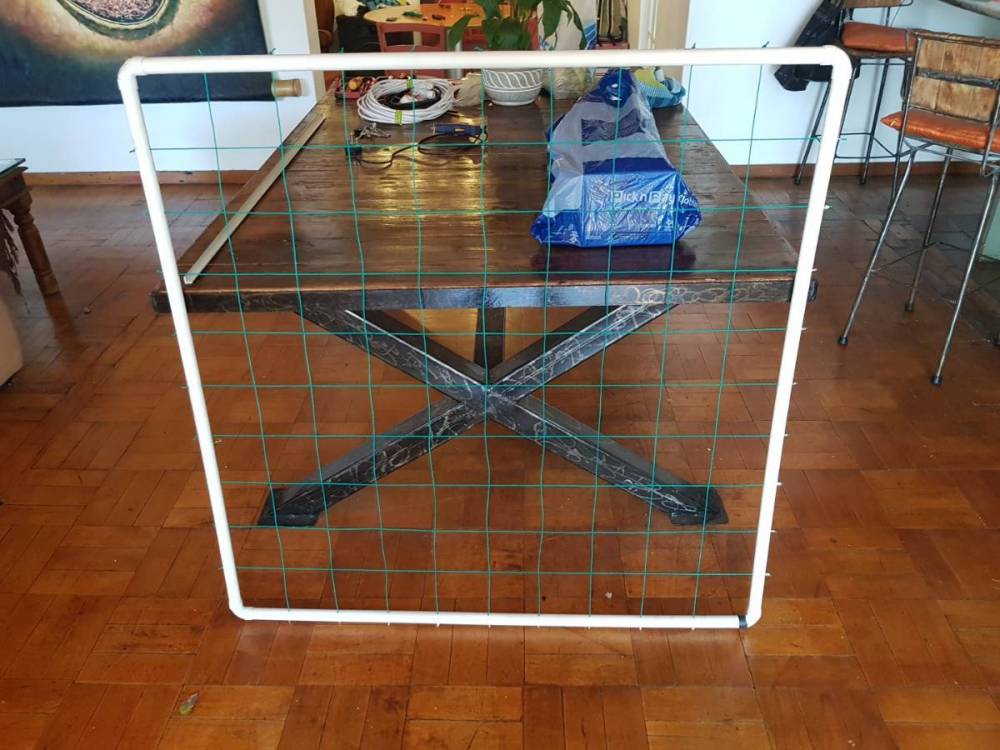
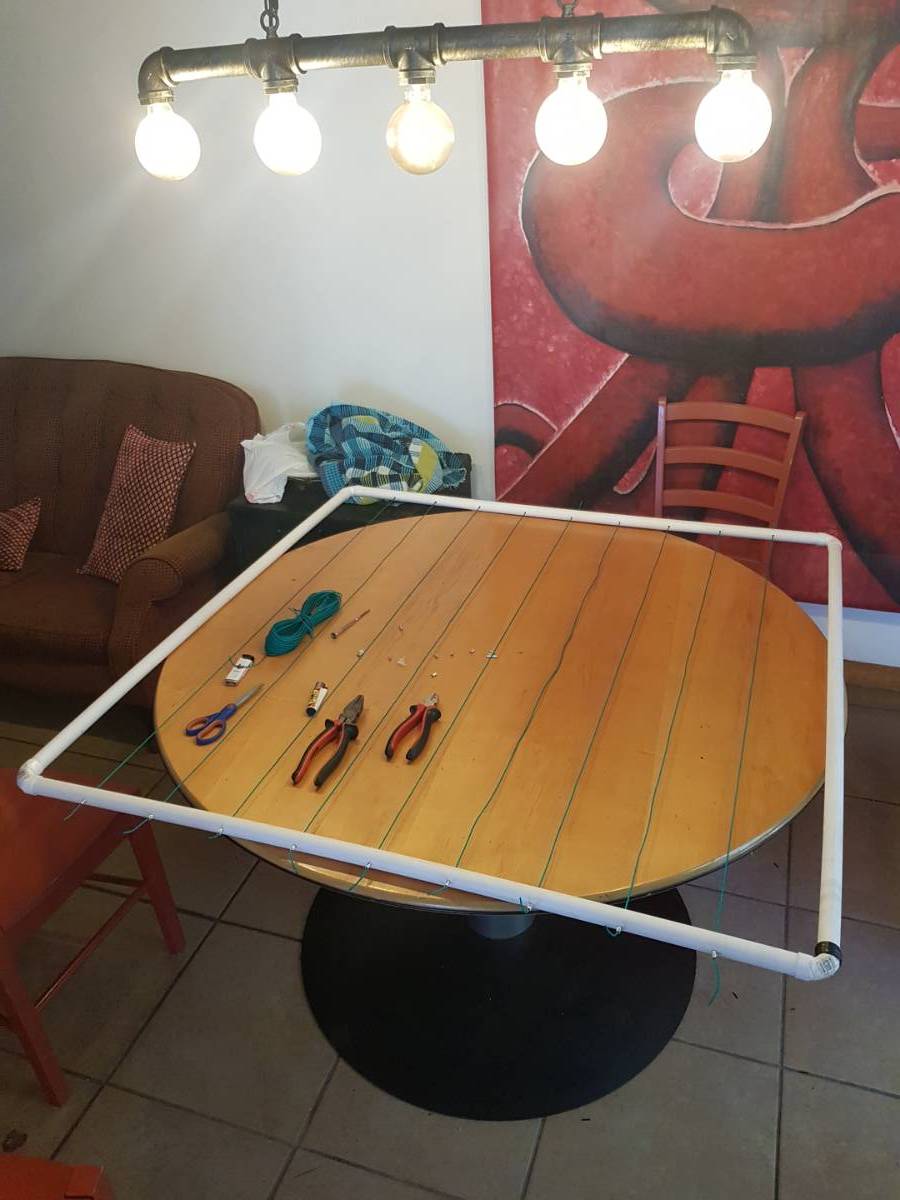
What's up growmies.
I purchased a scrog a while back and never ended up using it. One of my biggest concerns was that the squares between the strings were too big for my liking. They were roughly about 25cm to 30cm big and wanted something smaller. So I went and collected a few things around the house and bought a couple things here and there.
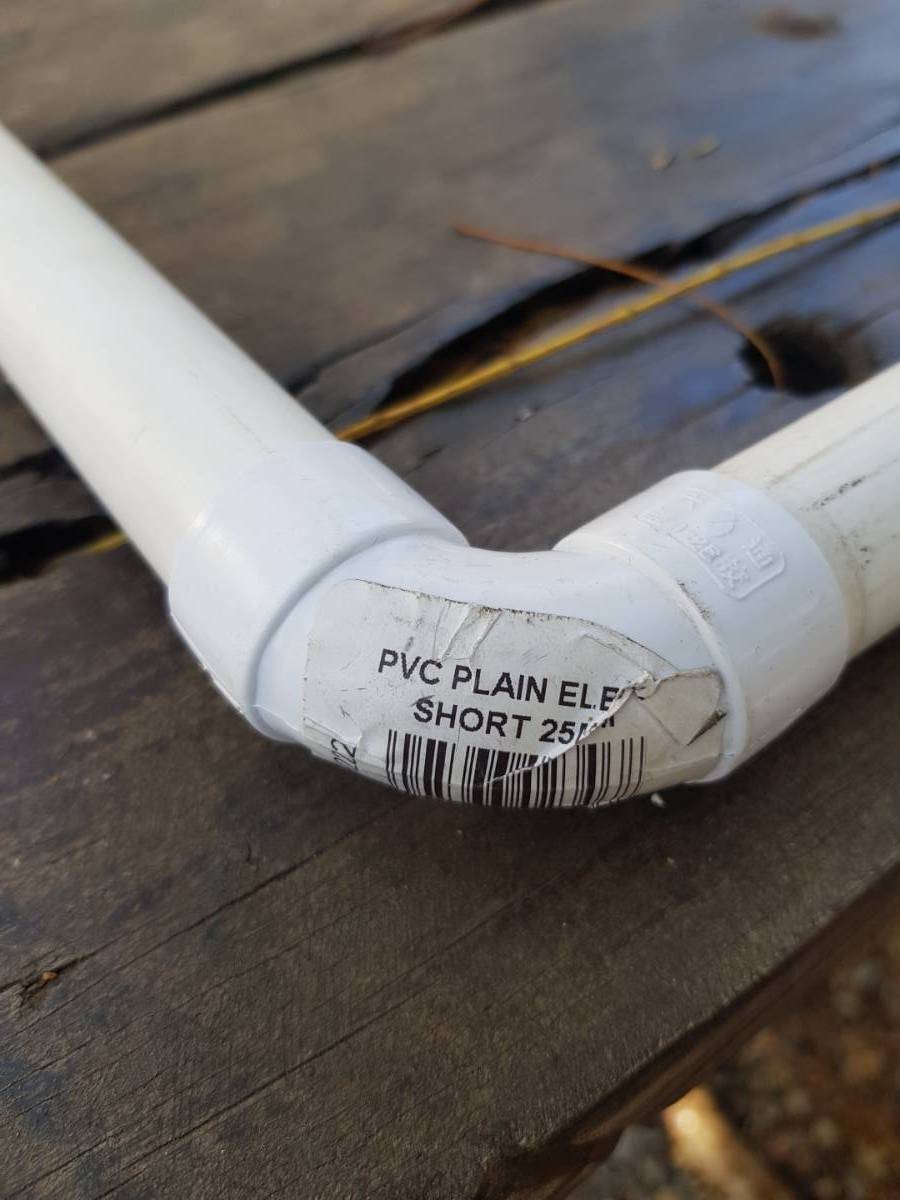
So firstly I cut 4x pieces of 1.2m pvc conduit piping (25mm). 4x corners for those pipes too. I built a big square that would fit into my 1.2m tent. Please note all measurements are rough estimates as my tent wasn't exactly 1.2m. The inner sides of the tent poles is what I used as my size which was slightly smaller than 1.2m.
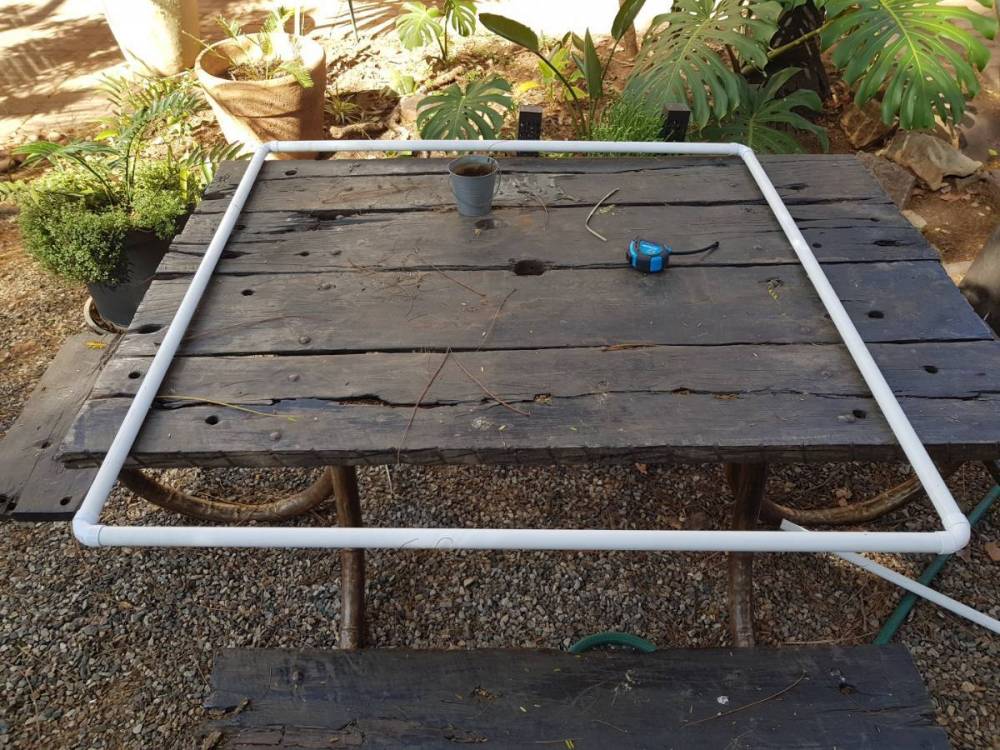

I drilled holes along the conduit piping and drilled them straight through. I decided to tie each string individually about 11cm apart. The reason I went with the individual string instead of one long string that gets weaved is simply because if one of my strings break, the whole rig doesn't come down. If one breaks, just that line will be broken and can then be repaired seperately.
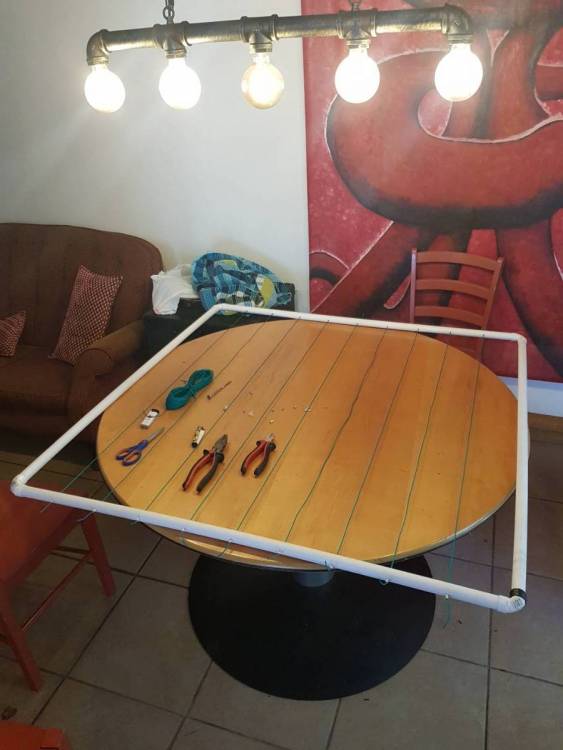
I decided to use string I bought at a hardware shop. The string is used for shade cloth, gardens etc. One packet of 30m cost R30. So was pretty cheap. I had some steel ferrels that I had left over from another project. I cut them in half with a steel saw (super cramps in the hands trying to hold with a pliers and saw. Use vice grip if you have). I only used about 18x ferrels. Made my squares about 11cm apart. I made a little knot the one side and then took it through the other side (making sure there's not too much tension) which I then used the ferrels to keep them taut (by squishing them with a side-cutter. Just not too hard that you cut through). The pvc pipe bends easily so check your previous lines as you go, not to make them too tight.
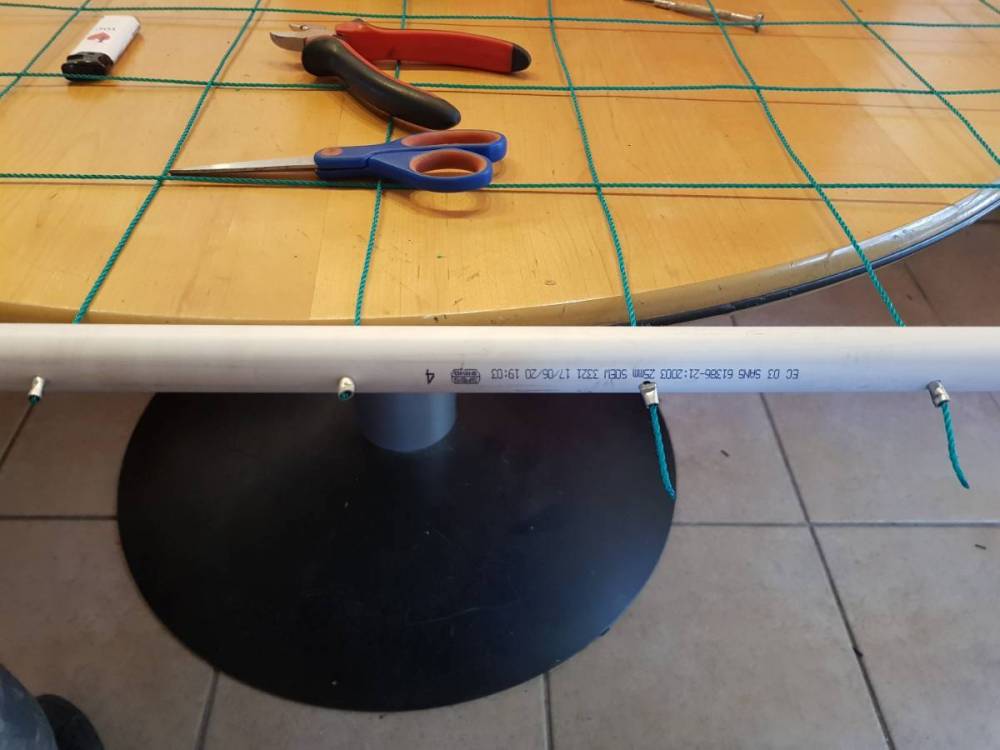
Once you have finished one side of, let's say the vertical side, when stringing towards the other sides horizontally, make sure to go over and under the vertical strings.
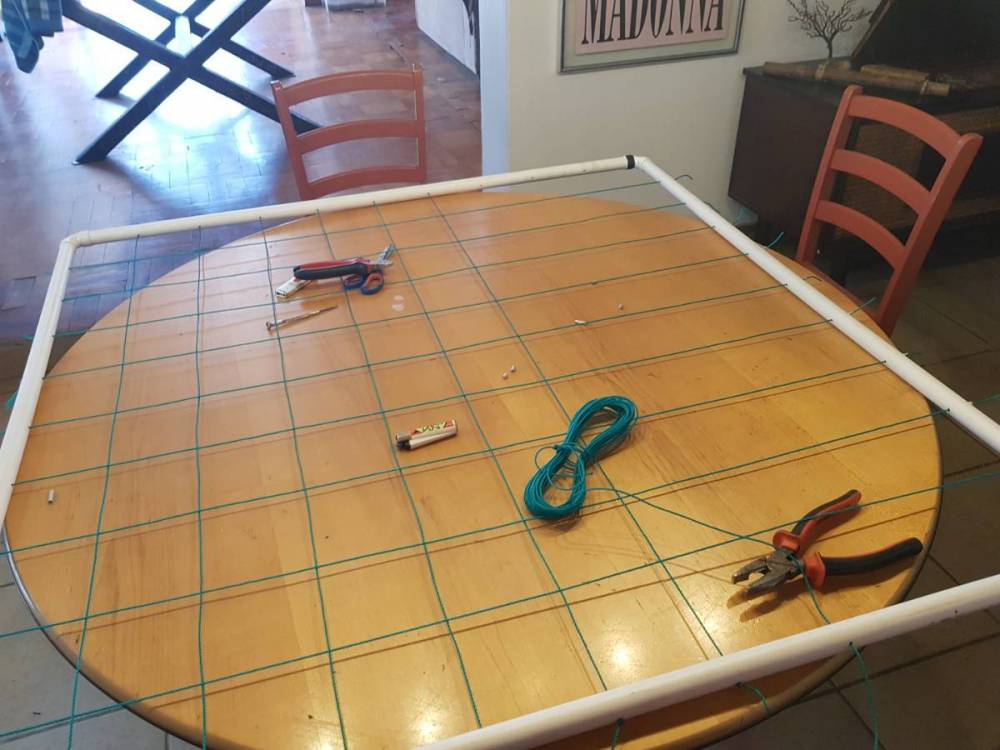
I ended up using some cable ties just to tie down my DIY scrog to the tent poles. I'll be using this scrog to keep 4 plants down. This is from inspiration purely from this forum. Some of the guys that have made their own scrogs have done some nice ones. As I mentioned, there are plenty of different kinds of material, methods and ideas that can be used to do this. This is just one of them.
-
6
-
1
-
2
-
-
Just an update on this topic.
I've been using these 50watt floodlights in a small vegging tent and seems to be doing the job wonderfully. Many plants have passed by under these lights. I haven't changed them for almost a year now. Also added some cheap led bars to the top of the veg tent keeping the mothers happy. These lights would be a great alternative to anyone starting a grow and looking for cheap veg lights. They're also easy to wire up.

-
2
-
2
-
-
Dude. Thats beautiful growth. Those are all little nodes growing. Good one on deciding to veg longer. It can only do the plants good. If your lights are on for 18hrs or longer those plants will no doubt be in a veg state. Just keep them in the veg until they're stable.
Looking good
-
1
-
-
Daaaaaaaaammmnnnnn Dave. Those plants are looking good. I would have to agree with @GGG, top the one at the back and let those babies veg some more. You look like you have plenty of height left in that space. Looking good man. Some tight stacks on those nodes. Looks like those girls want to be bent abit


-
2
-


Palomino and friends
in Grow Diaries
Posted
Definitely going to need those blue crutches in the background after smoking this.
Excellent work
